Friday, April 26, 2013

Pattern Designer Interview - Beth of Lilygiggle Patterns


1. When did you start designing patterns and how did it come about?


My very first pattern designing was WAY back in college...ahem...I mean, just back in college as I majored in Fashion. Of course, technically, I was designing clothing and the patterns were just a means to that end. I was actually very uninterested in patternmaking as a profession back in those days...too much math.

2. What training do you have or how did you learn?
 

I was trained in school but I spent many years NOT making patterns, afterwards, and I do not believe it's like riding a bike. I had to do some major refreshing when I decided to open up shop. Crazy enough, when I worked as a designer I was always happy that I didn't have to actually make the patterns but now I truly enjoy the technical aspect of it all and it's so rewarding to see all those lines and measurements become exactly what I hoped it would when the piece is finished! Maybe I like math, after all?

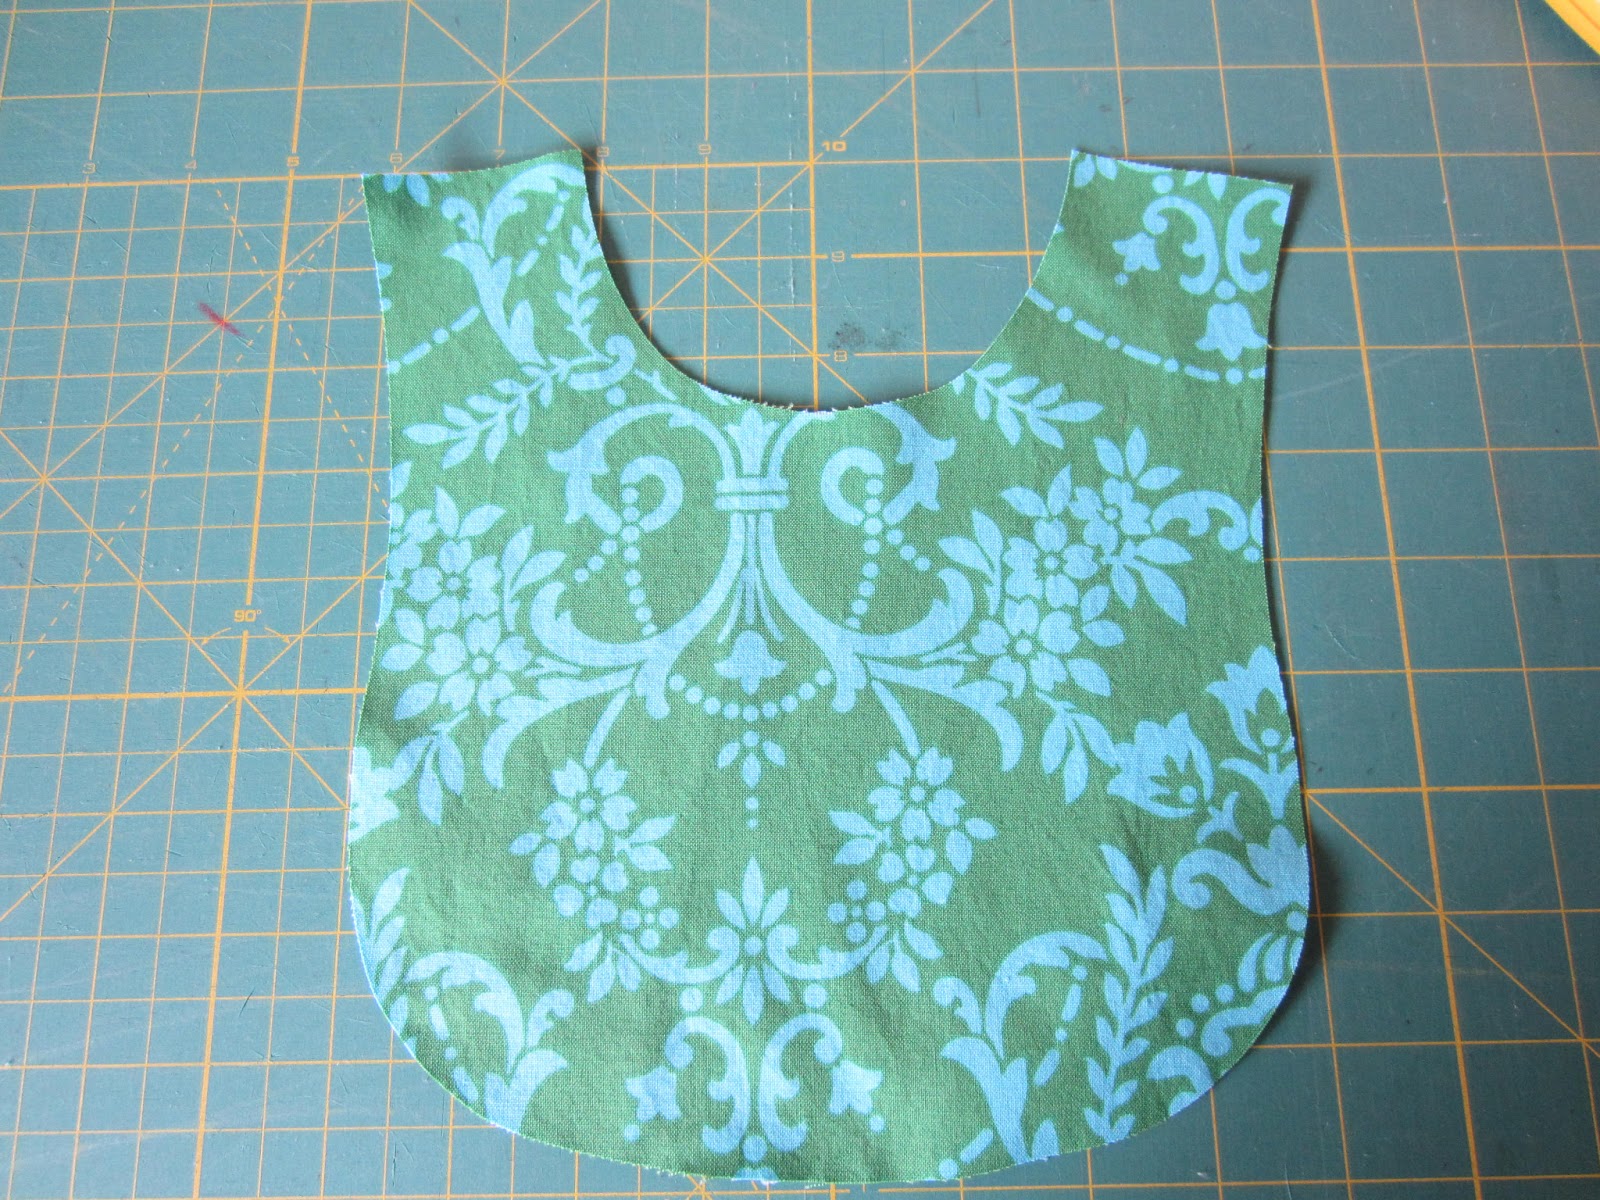
3. What is the process of designing a new pattern like?
 

First a simple idea comes to me. This is usually about 2 a.m. and keeps me awake for an hour or two. Then IF I remember it in the morning it gets sketched in my book or on a napkin or whatever I can find lying around. In this house, it often gets sketched with a crayon. Most ideas/sketches never even make it out of the book but if they do the next step is drafting the pattern onto freezer paper. I then make a bunch of samples. These are usually in a size 3 and a size 7 because those are the sizes my girls now wear. They get to try everything on 
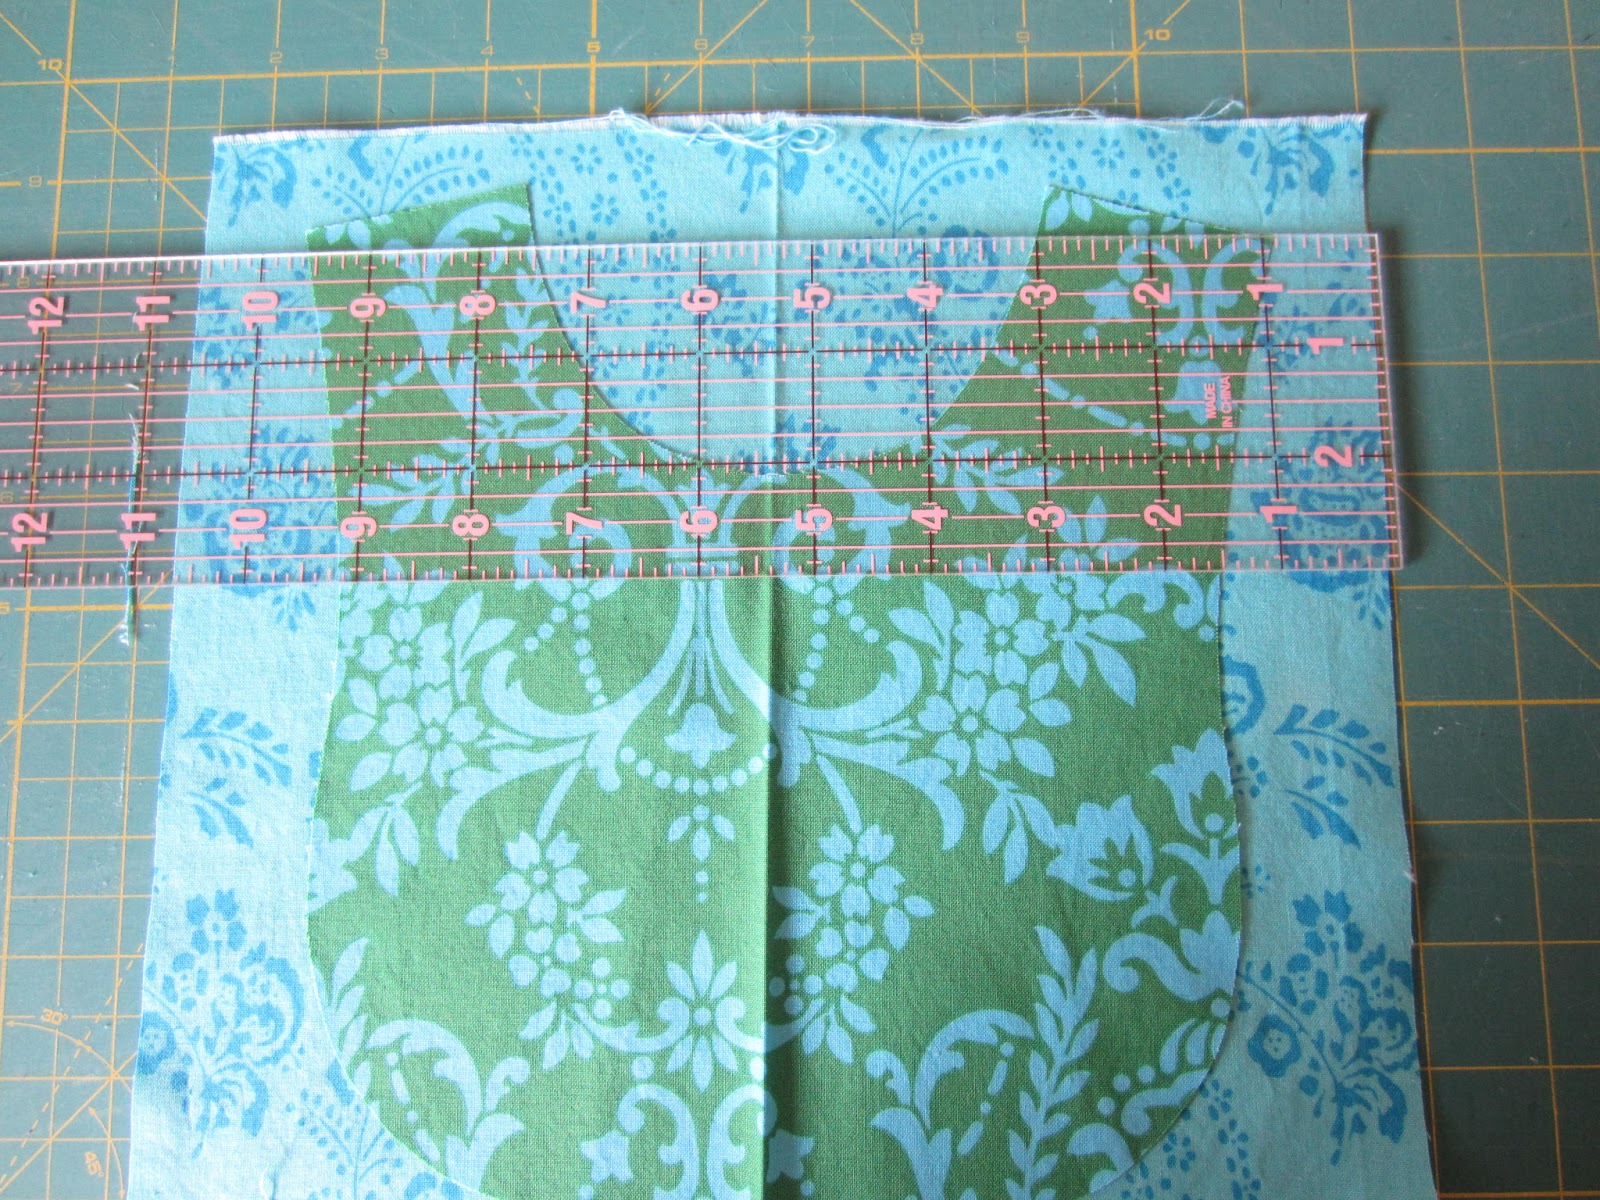
a bazillion times until I get it just the way I want it. After I'm happy with the fit I scan the freezer paper patterns into the computer and clean it all up and work on the grading on the computer. Then there's shooting/writing the tutorial and my sweet graphic artist husband pretties it all up. After that it is off to testing and crossing my fingers that any changes are easy.


(Note: this is one of the MOST well reviewed patterns I have seen! There is a lot of love, on Facebook, for this pattern.)

4. What is the hardest part about designing a pattern in pdf form?
Keeping it simple, I think. Many PDF pattern customers are beginners so I find it challenging to keep the design simple enough to be easy to sew and the explanations plain enough that someone brand new to sewing can understand it. When you've been sewing for more than 20 years it can be hard to get back into "beginner brain" and I am very concerned that I don't frustrate my customers.

5. What is your favorite of your patterns and why?
 

I still love the Rings of Ruffles Pants. Out of all the clothing I have made my own girls they are still my favorite to watch them run around in. They instantly make any of their outfits that much cuter.


6. Do you sew for your own family or for sale? What do you prefer more, sewing or pattern design, and why?
 
I love sewing for my family. I no longer sew items to sell. Any creative time that is left in my days beyond running LilyGiggle I like to devote to making things for my own children and home. I've got 4 of them and one on the way so I could sew all the time for them.

7. Have you learned anything from feedback from customers that you would like to share with other designers or wanna-be designers?
 
Oh boy have I learned a lot from my customers! I know that my customers love a design that whips up easily but still looks awesome. I try to eliminate too many fussy details but still keep enough detail to make it interesting. Details in the tutorials are super important, too. That's what makes most PDF patterns so much better than the big box store patterns...the details and photos that make all the steps easy to understand. Also, customers want lots of sizes to choose from. It is way easier to grade just a few sizes but taking the time to get a full size range created makes a huge difference to customers.


(note: You have probably seen these pants everywhere! This pattern is that good!)

8. Best time and place to design?
 
When kids are sleeping, of course.

 9. Favorite fabric of all time?

Impossible...like asking me who my favorite child is!
 

10. Favorite thing to do for fun?
 
I live in one of the most beautiful places in the world (in my opinion) nestled in a great town surrounded on all sides by mountains. My favorite thing to do for fun is to get out in all that gorgeousness. Give me a picnic blanket, some yummy food and a sunny day and I am one happy girl.
Stay tuned for a few more pattern designer interviews to come....... 


Wednesday, April 24, 2013

Cat-proof project board, a tutorial


 Today, I am channeling Lindsay, at The Cottage Home.  First of all, I loved her post about flea market finds. I have a collection of wooden spools that came with my late grandmother's sewing kit.  I could not find a lid to a mason jar but I did find a mason jar and put Grandma's spools in it and one of her hankies on top.  I think it is sweet inbetween Muffy Vanderbear and Christopher Raikesbear.  (both of which I have had since high school and will not let my children play with).


 But, that left the rest of my sewing corner looking rather blah. I have tried putting up cork board, on these walls, but my cats seem to think the cork is for them to use to sharpen their claws.   They have destroyed several corkboards!  So, I decided, instead, to make a cloth idea board, a cat-proof project board.   Here is how I did it!


I keep small scraps of fabric in a few bins, for use to make doll clothing and other projects.  I found a bunch of them which looked nice together.  


I made a 4 inch by 4 inch template out of cardstock.

After ironing, I cut out a bunch of 4" squares.  


I then laid them out in a pleasing manner. Mind you, I do not quilt so this is new to me.  I also found some skinny pieces of fabric and sewed them all together to make binding.  The skinnies were all three inches wide. 


I started sewing everything together in an orderly manner.

Like so

and sew

 I found some little used fabric to use as backing.

In my Pellon fusible collection, I found a very stiff piece that had originally been purchased to make a hat.  It felt perfect to use as backing. Any fairly thick fusible will do for this project.
 Cut to size. Ironed the fusible to the backing, following directions from Pellon.


And took the whole thing outside so I could use my quilting spray glue.  Please do not use this kind of spray glue indoors. I don't want to hear about you passing out from fumes!


I then attached the binding as best I could. As a non quilter, this was a challenge. 


I sewed some ribbon loops on the back, tucking the ends under the binding.

And voila! It is all done. Looks like a placemat, huh?  Well, it is going to be great on my wall and the cats should, hopefully, ignore it!

I think it looks good in my sewing corner.  


Here they are with ideas on them. My girls have designed dresses for me to sew for them.  I pinned them in place with sewing pins, not push pins.  Works great!  I may make another one for the other side of that clock. This would also be a great project for a young person learning to sew.


And, back to channeling Cottage Mama again, I made a pincushion ring, as per her tutorial!  I plan to use it while I am sewing, to catch those pins that get in the way.   


Just call me 70s split level home mama!  


Saturday, April 20, 2013

Paulina's Fancy Sash Dress


Having made little sister a new dress, featured here, it is time to give big sister some fabric love.  I wanted the two sisters to have somewhat similar dresses, but not exactly. Even though they are 10 and almost 6, they do like to match from time to time.  Looking through my patterns, I found Mary's Fancy Sash Dress in my copy of Jennifer Paganelli's Girl's World. Perfect!  And Voila, here we have Paulina's Fancy Sash Dress. 


The main fabric is, again, Jennifer's Crazy Love Natasha in Green.  The sash is from Jennifer's Honey Child collection and is Rosetta in Blue.  I love that colors from her collections compliment each other, so we can mix and match. 


My children have sensitive skin so I made a few changes to this pattern. I made the bodice fully lined.  I took the same idea I learned making the Perfect Party Dress for little sister and incorporated it into this pattern.  Came out great.


This is a pullover dress so it is a tad loose on top but that is no bother. This was made with room to grow.


She wanted to show off the skirt.

Girl's World is a great book. It has lots of patterns you can sew for your girl AND with your girl.  There are a few more dresses I want to make for her, like the Josie or the Tallulah, and we want to make the George stuffed dog together. I think that will be a fun beginner sew project for her.  And there is more!  Lots more.  You can check it out at this link. Be sure to look inside!


And not to be outdone by little sister's tiara, every 10 year old needs her own crown!


Thursday, April 18, 2013

The Perfect Party Dress - pattern review and pleated bib tutorial


This week, I had the pleasure of testing a new pattern from Tie Dye Diva.  I really do love her patterns! There is a simplicity of style to them that pleases me.  I am not a fan of mega ruffles (to each, her own). And they are always written and tested to precision, so I know they are going to fit great and look great.  This one was no exception.   Here is The Perfect Party Dress. We don't actually have a party to go to but hey, why not wear a tiara at home?


This dress is about knee length, so it looks very sweet for spring. It has a front sash piece that is attached to the bodice and then two sash ties at the side.  It should have four buttons down the back but I made a goof and only did three. That is not the pattern's fault. I failed to pay attention to directions.  My bad.  However, the pattern is very well written, the bodice is fully lined, and the bodice instructions help you create a gorgeous bodice.  There are plenty of pictures in the pdf pattern document for you to easily follow what Jen is describing. The pattern also has an optional bib piece, which I chose to sew. 


As you can see, the bib is quite wide so it looks classy to me, not like a baby bib. My almost six year old daughter was concerned about this.  The bib itself is a simple piece but Jen shows you how, in the directions, to add ric rac trim or you can do a ruffle trim.  I also added some pleating and will explain how I did that below. I really like this pattern and highly recommend it. I love a pattern that has a lot of options. I chose not to do the ruffle on the skirt and added ribbon trim instead. But, you could easily bling this dress up or down. Following the finished measurements guide, I made a size 6 for my size 6 daughter and it fits perfectly. 


So, here is how I made the pleated effect on the bib. 

First of all, I cut out the bib piece as per the pattern.


Next, I took the fabric I wanted to use to create the pleats and cut a square of it that is about one inch all the way around my bib.  I am writing these directions so you can do this effect with any size bib. My bib in this picture is for a size 6. 


As you can see, it is about one inch larger than the bib. 
It does not have to be 100% exact.


For the next step, iron the bib and the pleat fabric in half, so you have a line down the middle of each.  You can see that above.  Iron the sides of your pleat piece down one inch. You can see this below.


Align the middle of both pieces of fabric and pin your pleat piece down to your bib, right side of bib to wrong side of pleat piece. The ironing line is the mark of the middle. 


Now, you are going to pull the side seam of the pleat piece over about one inch from the fattest part of the bib, as seen below.


Pin into place. 


Make sure the top of the pleat piece is covering a bit of the top of the bib. Below, I have lifted my pleat piece to show you how it covers just a few centimeters of the top part of the bib.


When it is laying down, it should barely cover that top bib piece. Make sure your pleat piece sticks out about an inch over the top and bottom of bib.

Now, this part is a bit creative.  I take the fabric in between the two pins and just fold it over until it looks centered, with the fold going away from the middle. Since I am writing this tutorial for every size, there is no measurement here. Just eyeball it and redo it as much as you need to do until it looks good.


 Pin it into place on both sides. Measure to make sure your two pleats are about the same size. My middle pleats were both 1 and 3/8ths inch from center line and my outer pleat was 1 inch from the middle pleat.  Don't be afraid to unpin and redo.


When I look at the underneath of the pleat fabric, I can see that the pleats look symmetrical. Yay!


Pin it down a bunch.


 Top stitch the pleats. You don't have to stitch down the middle if you don't want. It just depends on what is in your creative brain!  What look are you going for?


Turn it over and trim excess. 


Add embellishments, if you desire.  Finish the bib as per Jen's directions in The Perfect Party Dress pattern.  Enjoy!


Here is what my finished bib looks like.  
 added this lovely wide ribbon from Les Bon Ribbons down the front. 
If you don't know this store, you MUST check it out.


And, here is the pretty princess in her Perfect Party Dress.


Happy Sewing!


PS This is this week's tutorial but I was so busy with the dress on Tuesday, I couldn't get the tutorial done on time! Sorry!