Showing posts with label make your own series. Show all posts

Friday, March 22, 2013

Tie Dye Diva Square Neck Butterfly Tops

Wait, you say, Tie Diva Patterns doesn't have a pattern called the Square Neck Butterfly Top.  What is this about?  Well, I combined my of two favorite patterns!  The Tie Dye Diva Square Neck Top Pattern with the her Butterfly Dress Pattern.  Et Voila!


In the children's boutique clothing world, there is a clothing company with the initials MJC and they made a cut top, last year, called the shabby.  I really liked it and a friend loaned me one, last year, so I could make a copy of it with the same Anna Griffin Riley circus fabric I  used above.  She sent me the shabby top and the fabric and I used the top as a model to make her daughter another one.  The shabby fit her daughter well and she wanted another top of that style. But, there were no patterns like it. Hence, she sent me the original to use. 

Cut to 2013. I wanted to make a couple of tops like this for my daughter.   Luckily, Tie Dye Diva has two lovely patterns that have elements similar to this cute top.  The Butterfly has the flutter sleeves and I also like the way the Butterfly bodice attaches to the skirt.  Further, the Butterfly has nicely done armhole facings. The Square Neck has the squared bodice as well as the length I like and the Butterfly has the tuxedo ruffle directions.  And I own them both.  ( I was a pattern tester for both!)

So, I put them together. Here's how I did it.   First of all, buy them both.  You won't regret it. You will use them over and over again.   

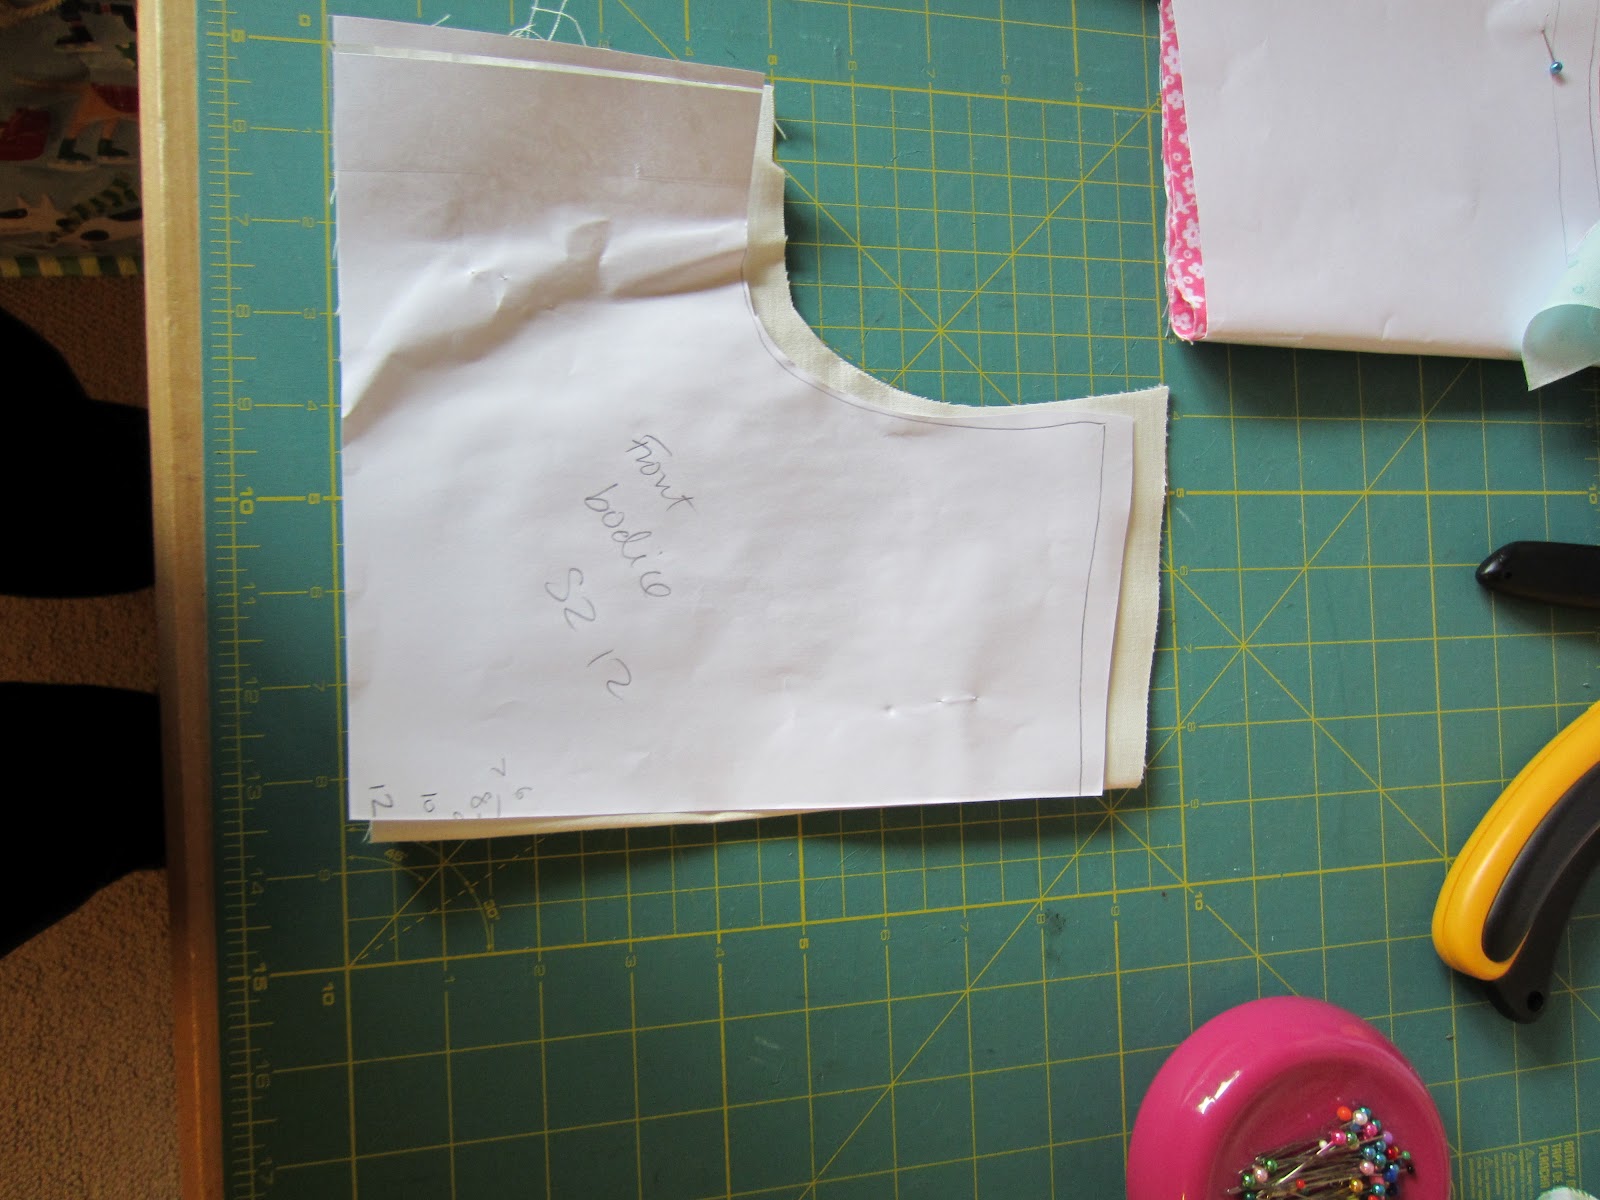
Next up, you are going to cut out the top following the Square Neck pattern directions. The only exceptions are the armhole facing and the flutter sleeve. 


For the flutter sleeve, I wanted to make it more narrow than the Butterfly dress sleeve.  The sleeve I cut out, in size 6, was four inches across at the point where it says "fold."  So, I took one inch off each side.  For smaller sizes, I suggest cutting off 1/4 of the width from either side, as I did.  


For the armhole facing, I made bias tape using the pattern piece from the Butterfly pattern.

First up, the bodice.  I followed the directions on the Square Neck pattern but added the flutter sleeves and tuxedo ruffle, as per the Butterfly's directions.  Below, you the steps as I sewed the ruffle and sleeves to the outer bodice and then added the lining.  Trust me, Tie Dye Diva's directions for doing these sleeves is fool-proof and simple!!  They will look great, just like mine.


The Square Neck top directions include sewing the skirt inside the bodice but I decided to just sew my skirt to the bodice and the serge and topstitch.  So, you see the serged product above. My fabric was fraying something awful so I wanted to keep it serged as much as possible. 


Next up, I added the armhole facing, following directions on the Butterfly pattern.  The Square Neck Top pattern has the option of just folding down the fabric to make a self seam.  I like the fun of doing the binding with a contrasting fabric.


I added some finishing touches. My daughter's name begins with E and she picked out these E buttons.  One went on front, one went in the back to close the bodice.


And the finished product, one more time.


I had so much fun doing this, I did it again! This time I doubled the width of the skirt and made it twirly. I made it shorter, too, so it is a bit more of a babydoll look. My daughter thinks it will be perfect for a hot, summer day.  

Happy Sewing!


Sunday, June 3, 2012

Adjusting a pattern to fit an nonstandard size


 Welcome to post #2 in the Making your own patterns series.  In this post, I will show you how to take a pattern and adjust it to fit a body that is not standard sizing.  You might have a person who is a size 12 in the waist but 8 in height.  She might need a 10 in length of bodice but 8 in length of skirt.  So, what do you do? Here you go!!

 First of all, take very good measurements.  Measure chest circumference, waist circumference, from shoulder to waist, hip circumference, and waist to where you want hem to end. If your item has an empire or dropped waist, take that into account when you are measuring.  Draw it out if it helps you.  I prefer just to write it down, but drawing it out helps others a lot! 

This might be hard to see, but here is the size chart for the Portabellopixie Claire pattern I use when I make a peasant dress.  It only goes up to size 8.  If you look closely, you can see that the waist sizes increase by increments of one half inch or three quarters of an inch. So I was able to size the pattern up pretty easily by taking good measurements.   The person I am sewing for has a 30" chest and needs the dress to be 32" from shoulder to hem.  This dress has a slightly empire waist and her waist measurement is also 30".  Because this is a dress with elastic around neckline, her shoulder width will not matter much.  The dress should still fit. 


 So, if you look closely at this picture,  you can see I added the appropriate increments to increase the pattern to a size 12 to accommodate her chest circumference.  I am keeping her shoulder to waist measurement in my head at the moment.


Another view.


Closeup
 

Fast forward to the sleeves, front ruffle and sash being all done! Back and front are sewn together. This girl measures 10 inches from shoulder to waist and I have made sure it fill fit that by adjusting as I sew.  In this case, I took a bit off the waist of the bodice before adding the sash, in order for it to be 10 inches from shoulder to waist.  Voila!
 

This girl is 30 inches around and this waist will measure 32 inches. Since it has a sash she can tie in back to make it fit better, this should fit perfectly!!
 

Now, for the elastic for the bodice neckline and sleeves.  As you can see below, there is one half inch between sizes for neckline elastic and one quarter inch between sizes for sleeve elastic.  So, it was easy to add up to what would be a size 12.  Because I would rather this be slightly loose than snug, I went with size 12 for elastic sizing, as that is also her waist size.
 
  
Elastic is all cut and ready to go.


Now, on to creating the skirt.  In this case, it is one piece with an attached ruffle.  This Children at Play Parade Print measures 14 inches so I needed another 7 inches or so to get to the 21-22 inches I need for the skirt.  I want the finished dress to measure 32 inches from shoulder to hem, and the bodice is 10 inches, so I need 21-22 inches.  And that is how I cut my fabric!  


All done!


Close up
 

Back view
 

Don't be afraid to play around with sizing on pdf patterns.  Paper patterns will be harder to adjust since the sizing is less standardized.  But, pdf patterns are usually pretty easy to adjust if you measure very carefully and write it all down, even draw it out.  You can do it! There is no such thing as a standard human body, anyway, so this really helps you sew in a more tailored way.

Happy sewing!

Monday, May 28, 2012

Making a pattern larger

First part of the making your own patterns series is how to make your existing patterns larger.  What if you have a child who is too large for the pattern you want to use? Or too small? Or, too wide or too narrow? You can easily alter the pattern yourself!  Here's how.


First of all, you need to take good measurements of the person you are sewing for.  This is the person I am sewing for. She is 9 years old and no longer fits into dresses in size 8. She needs a size 9 or 10 and I need to pay particular attention to her shoulders, for they are broad.  I start off taking good measurements of her waist, chest, shoulders to waist, and waist to where I want the skirt of the dress to fall, in this case just below the knee.  If I were making a shirt with sleeves, I would also take her neck to shoulder measurement.  Basically, take all the measurements you think you will need.  You CAN take too few, but not too many. By looking at the size chart on the pattern, I know this girl is too large for it by a few inches. This pattern shows a size 8 girl as having a 23.75 inch waist.  She misses it by one quarter of an inch! And, because her shoulders are wide, I know it would be best to go up a size.  So, I will!

 Today, I will show you how to take a simple dress pattern and enlarge it.  This pattern is a paper pattern I bought at a quilt shop but this technique could also be applied to a pdf pattern.  This simple technique will not work on complicated patterns.

Step one: Take your basic pattern piece. In this case, you are looking at the back bodice. You are going to follow this technique to edit the front and back bodice pieces.


 Notice the intervals between sizes. Can you how it goes from one size to another. Use your ruler.  See the picture below? Each size is one quarter inch difference in size in width and length. Therefore, this pattern can be adjusted up a size or two. 


Step two:  Trace the pattern onto a piece of paper, leaving room all around for adding width and length. If you need to, tape two or three pieces together to get the size you need.
 

Now, you have already figured out that each size is a quarter inch apart on the pattern piece so simply add more sizes.  This can work either way, going up a size or two or going down a size or two.


Here is the finished pattern piece with sizes 9 and 10 shown drawn in.


Step three:  Make sure your pattern is going to fit before you cut out the fabric.  A size 10 measures 8 1/4 inch wide.  Since my daughter has a 24 inch waist, I know for sure this is not going to be too small.  (because 8.25 X 4 is 33 which leaves me plenty of room for seam allowances)  So, now I can cut out the fabric.


Step four: I do not have pictures of this step, but this is the most important part. Make a muslin of the part you are editing. Sew it together and make sure it is going to fit the person's body. In this case, I judged that a size 10 was going to be better for my daughter than a size 9 and I was right.  The practice piece showed me that it was going to work fine.


Here is the finished bodice! For shoulder pieces, I simply added an inch to each piece and then adjusted them on her body as I sewed. 


For the skirt length on this piece, I simple added a third tier to a two-tier dress.  


Success!!!

This technique can also be used to adjust a pattern to fit a body that is wider or more narrow than the pattern.  A narrow body does not necessarily need a smaller size, as that might be too short. And a wider body does not need a larger size as that would be too long. So, next up in this series, I will show you how to edit a pattern to fit a body that does not work with the size chart.


Sunday, May 27, 2012

Making your own patterns series!

Welcome to my new summer blog series, making your own patterns and extending the ones you have to fit larger sizes.  It is so simple to make your own basic patterns and extend the ones you have that I feel compelled to share.  I think this will be a lot of fun.  

I got the idea for this series by reading this book.  


Design-It-Yourself Clothes
Patternmaking Simplified
By Cal Patch

 Such a great book!  I love it so much I may have to buy it.  (I have it from the library at the moment.)  It offers great tips and advice and technical details about how to make your own patterns and design your own clothing. It is all simple clothing, to be sure, but still pretty darn cool and perfect for where I live, the Pacific Northwest.

So, starting tomorrow, I am going to show you how to alter your existing children's patterns and create your own patterns for yourself and your children.  This should be fun!

First up, taking a peasant dress pattern for baby girls thru size 8 and enlarging it to fit a size 10 or 12 girl and customizing it to her measurements.