Showing posts with label pattern review. Show all posts

Wednesday, June 25, 2014

Bundle Up Blog Tour - Sisboom Jenny Dress

It's Bundle Up time at Pattern Revolution again and this time it is women's patterns. "Bundle UP is a collective of your favorite established PDF sewing pattern designers coming together to offer you a sweet deal on both hot new patterns and your favorite closet staples from recent releases."  You can build the bundle you want, with the patterns you want. It is a great idea and a fun way to get the patterns you want to sew.

http://bundleupsale.com/product/womens-bundle-up/

One of the patterns in the Bundle Up is Sisboom Jenny. This fab pattern can be a top, tunic, dress or maxi.  It can have cap sleeves, no sleeves, or a ruffle down the front.  As with all Sisboom patterns, it is extremely well written and you will not go wrong if you follow the directions.  Carla is one of the best pattern writers in the blogosphere and she has been doing it longer than most. 

I was hesitant to sew something for me because I am no skinny minny anymore. But Jennifer sent me some of the new Beauty Queen fabric and I just fell in love with this print. This is Charlotte in green.  Isn't it pretty? And I do think this is a good color for me, so it was meant to be used to make a Jenny.

Now, be kind. I am not a skinny minny and sewing for oneself is hard. I truly did the best I could and hope you don't find fault!    The pattern is amazingly well written. It is truly impossible to go wrong with a Sisboom pattern.  If you measure yourself well and make a muslin, it will fit!  I made my muslin out of Swedish Tracing paper and the dress turned out great. I only had to take in the sides a smidge but tailoring a tiny bit is pretty much assumed when sewing for grownups.  

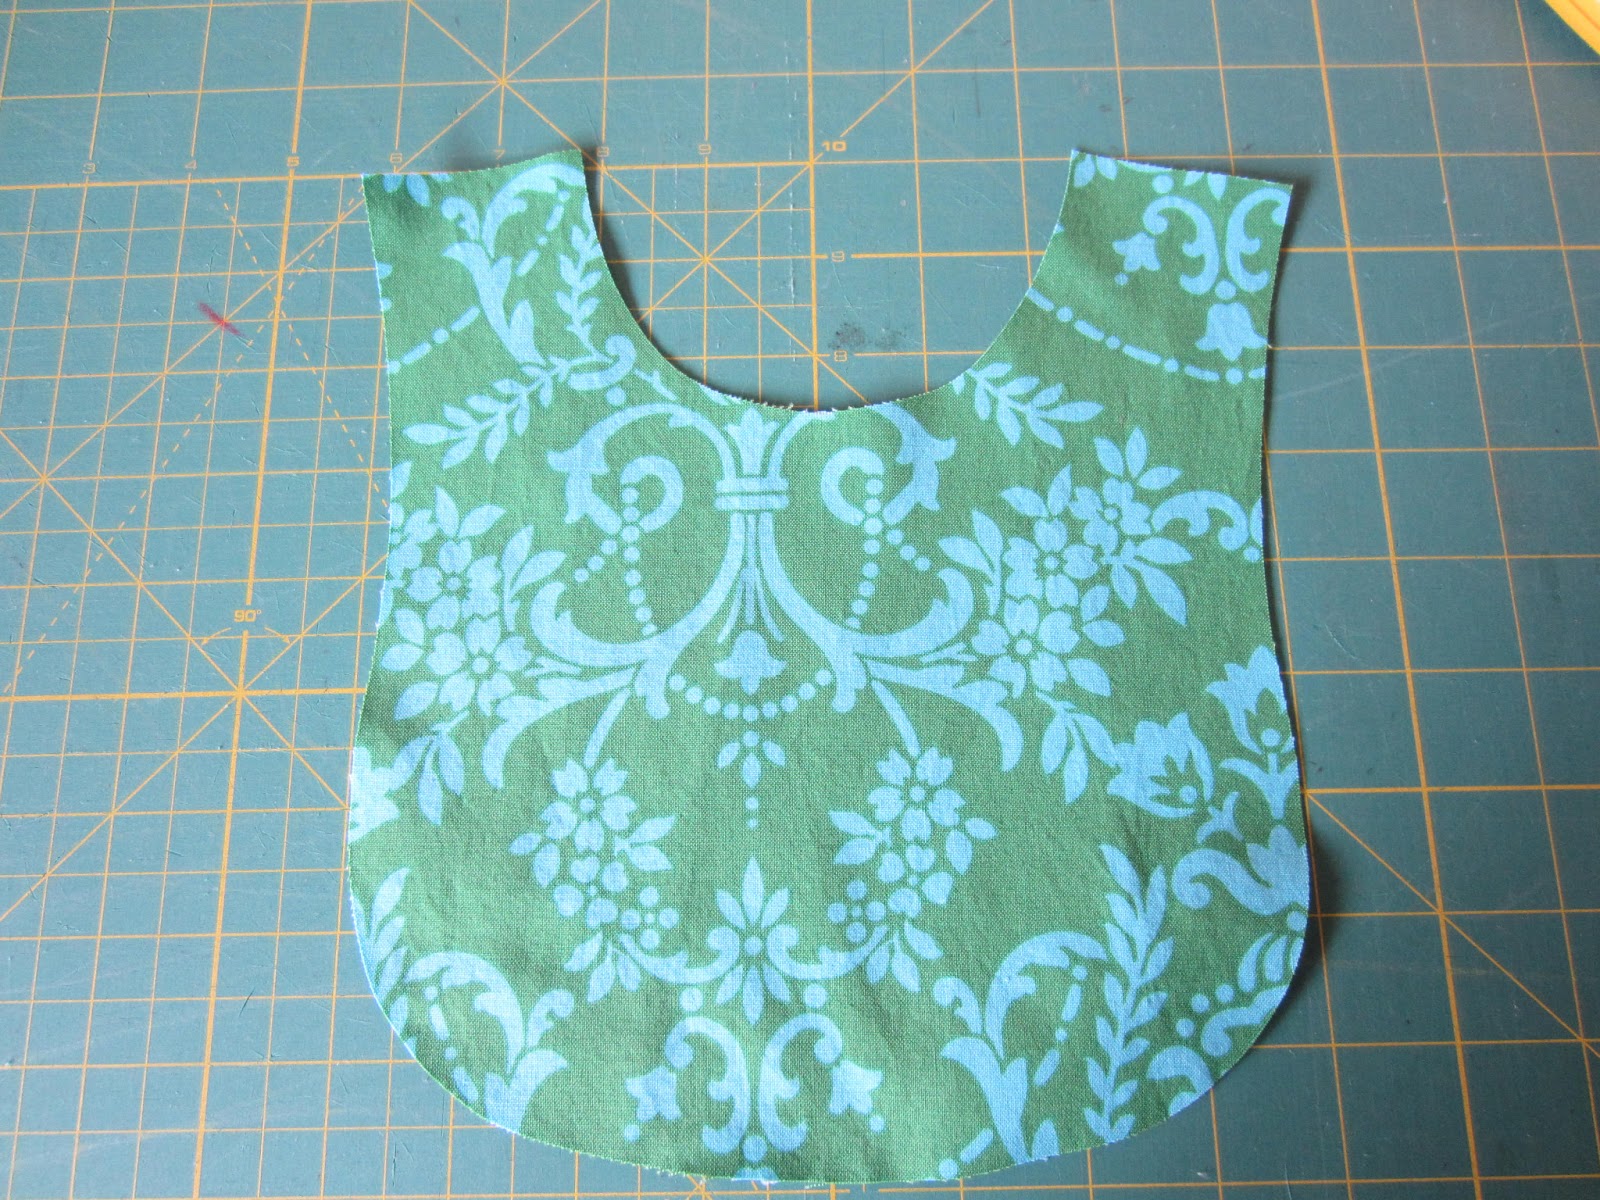
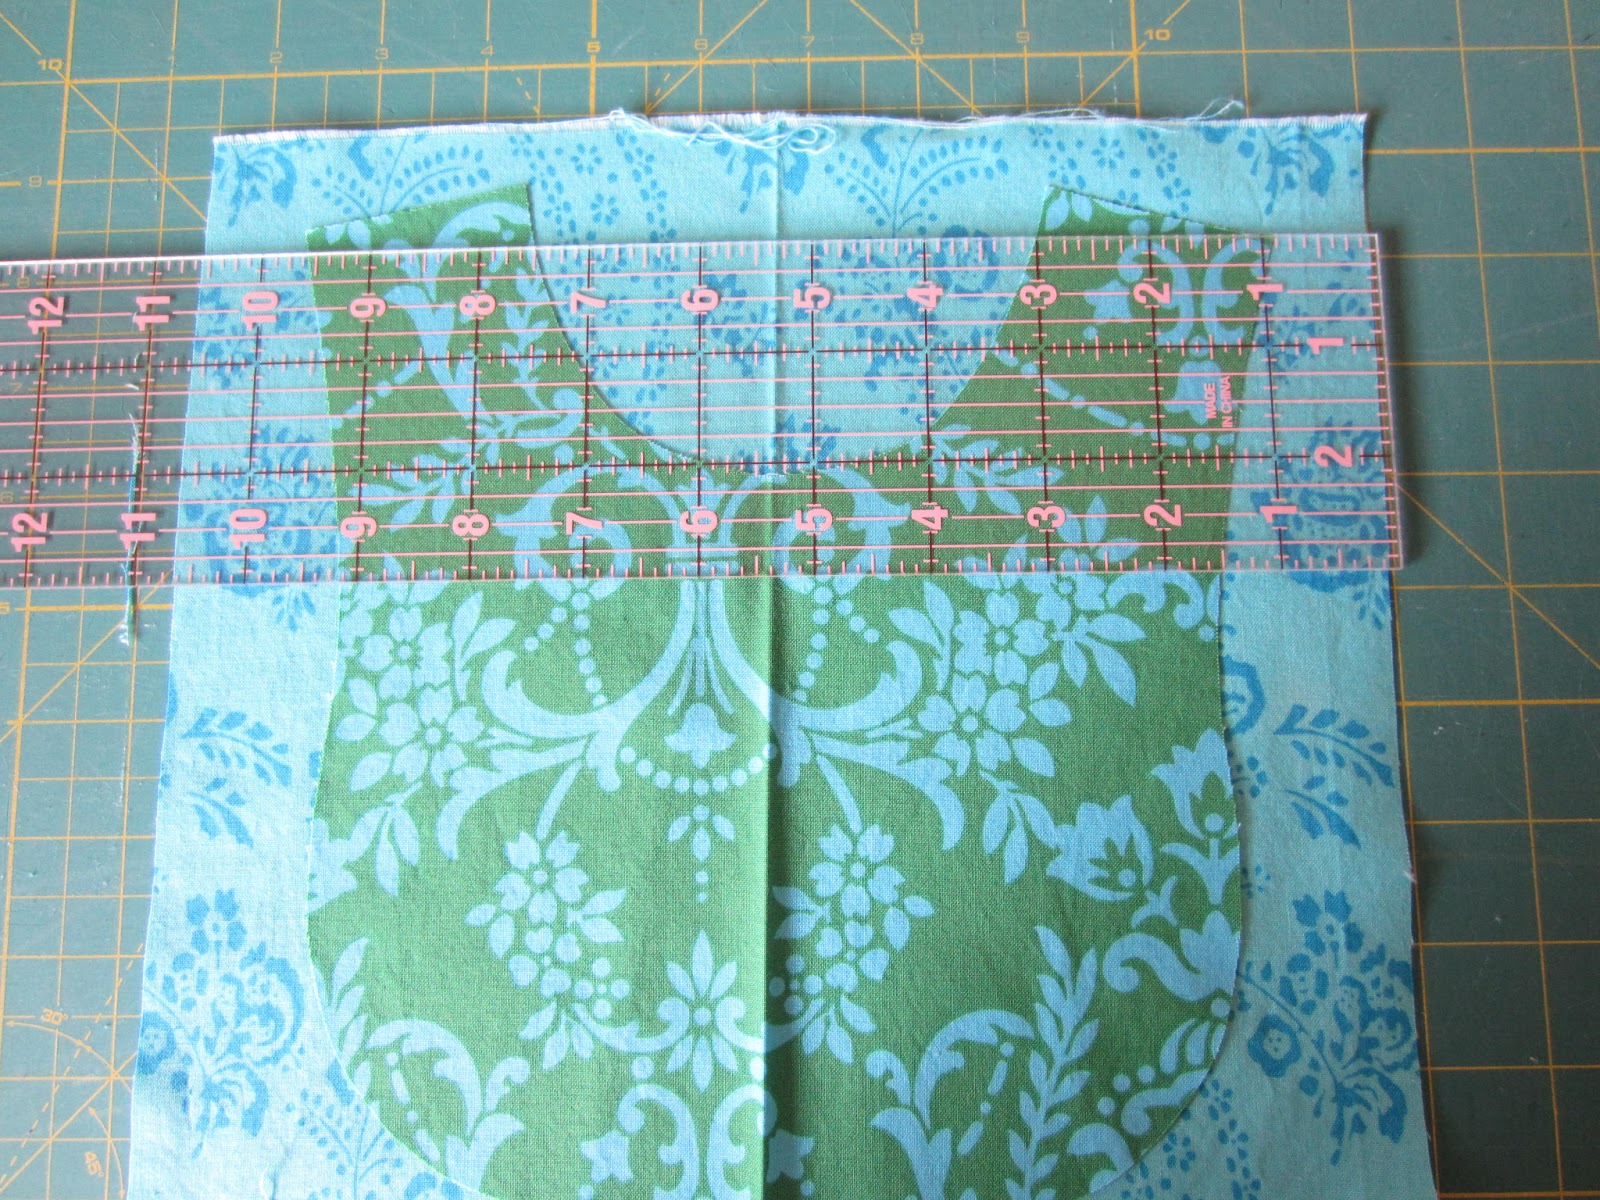
I did make one major booboo and that is I forgot about the pattern when I cut out the bodice parts. I paid attention to the waist band, as you can see by the excellent print placement, but did not do so good with the bodice. So, I added the ruffle after the fact, to cover the booboo, and I like it!  It wasn't hard to fix.

What is amazing about Jenny is all the options! You can make the skirt mini to maxi and everything in between. You can make it a tunic. You can add cap sleeves. There are so many options. And the way Carla teaches you how to install a zipper is fool proof! Seriously!!  The bodice is fully lined so all the seams are enclosed.  It is not a hard pattern to sew, but it does have a lot of steps. And be sure to sew a muslin!  Whenever you sew a pattern for the first time for yourself, you need to sew a muslin.  Remember: There is no such thing as true to size, only true to your size.  So, always make a muslin the first time.


Here is information on the rest of the tour. Check out the rest of the bloggers!


June 20
June 21 
June 22
June 23
June 24
June 25
June 26
June 27

Tuesday, June 24, 2014

Breeze Top Pattern Tour - My turn


Today, I am part of the Breeze Top Pattern Tour!  Fun stuff here. It can be very hard to be the other of a tween or young teen, because of the vast amount of clothing choices that make us cringe. They are too short or don't cover enough or have inappropriate slogans or cost a fortune or are made by slave labor. Or all of the above! And they are not little kids anymore so they don't want to dress like their younger siblings. What's a sewing mama  to do? Well, Shannon, at little kids grow and Peaches and Peanuts Patterns, has designed this cute little top to help give us options. 

Here is the Breeze Top. It is a stylish, sleeveless top with a gently draping skirt.  It has a razor back yoke and can be made in both knit or woven.  I made mine with cotton lycra knit bodice and polyester ruffle knit skirt.  This is a size 14 taken in a smidge at the back for a custom fit. The fabrics were found at Joann's, which was a total surprise.  Knit choices at Joann's can be hit and miss but we made a hit here.  My 11 year old LOVES this top. It is comfortable and because it the bodice is double sided, effectively enclosing all seams, she has nothing itchy against her skin. This is very important for this girl.  Great job, Shannon.


This is a fun pattern and it is not hard to sew.  Because seams are mostly enclosed, it is comfortable to wear.  Knits are easier to sew than you think so don't be afraid. The directions are clear and well done and graphics are simple to follow.  Buy this pattern! You won't be sorry. 

******************************************************************

I almost forgot. The Breeze Top pattern will be 25% off next week with the code "BREEZETOUR" on  the  Etsy site. (EXP. June 27th 11:59pm)
Site:
Etsy:https://www.etsy.com/shop/PeachesPeanuts


And there will be a giveaway!
Be sure to visit Shannon's blog at little kids grow and Peaches and Peanuts Patterns.
The giveaway will be live all week.  Good luck!!!

And check out the rest of the blogs all week long for more Breeze Tops. 


breeze pattern blog hop


Friday, May 23, 2014

Serger Pepper Basic Leggings Pattern Review

pdf leggings sewing patter

I was lucky, this week, to get to try out a new (to me) sewing pattern for leggings. My two girls love leggings so this is a wardrobe staple for us. My oldest daughter, who is 11 but wears a size 12 or 14, told me that she needs new summer pajamas and asked me to make her some tank tops and short leggings.  How could I refuse!  So, I took my new pattern, Serger Pepper's Basic Leggings Pattern, and made the shorts you see above. 

Serger Pepper is owned by MamaNene (aka Irene) who is also a contributor to Sew McCool blog, along with me.  This is how we "met" each other, online. Irene is a very sweet and talented lady who lives in Italy with her five year old daughter and husband. She has a fun blog and writes a lot of great patterns. This is the first one I have tried but I will be back for more. She did give me the pattern for free but only as friends.  This pattern review is 100% honest. You can expect that from me!  


Serger Pepper Basic Leggings

The first thing I noticed about this pattern is that it is perfect for beginners, requires no hemming, and has size adjustments for long legs and has higher back waist.  These are all important considerations when making knit pants. The pattern comes in a WIDE range of sizes, from US size 3 (Euro 98) to US size 14 (euro 164) which makes it perfect for anyone who can read an English-language pattern. And it has seam allowances. (some Euro patterns do not)   The pictures are clear and the directions are simple to understand. There are lots of tips for making the process simple. You can use a serger or  you can not, the directions show you both ways. There is a pattern for making cuffs for your leggings. She also shows you how to lengthen the crotch if you need a longer waist.

Now, the pattern does not show you how to turn it into shorts but it is pretty simple. So, what I did is measure where I wanted the shorts to fall on my child, added an inch, and cut.  The inch became the seam allowance. Voila. Shorts.  My girls don't like to call them biker shorts (but between you and me, that is what they are).  They are great for summer pajama bottoms.  

My oldest does not like the feel of waistbands and loves a yoga waist so I altered the pattern a smidge to add the yoga waist band you see in the picture.  I use the Sew Mama Sew yoga skirt tutorial for directions on how to do it.

*********************************

This is a great pattern! I highly recommend you try it if you are in the market for a leggings pattern.  Please come back tomorrow to read an interview with Irene!!


Friday, March 7, 2014

Pattern review: Olive Ann Designs Urban Princess


I had the pleasure of trying out a new pattern brand this week:  Olive Ann Designs.  I made her Urban Princess pattern in both girl size 8 and 18" doll size.

It is a cute pattern.  My local quilt shop, Fourth Corner Quilts, carries this brand and the owner asked me to make her a sample of each.  I chose to use Jennifer Paganelli's new fabric, Lucky Girl.  I decided to go with Jill in Sky and Emma in Navy.  Here's what I made:


My Review

This pattern is for sizes 2 thru 8 and 18" size doll.  This is a paper pattern with tissue paper pattern pieces and printed instructions.  The directions are moderately simple to follow although there was no mention of finishing seams.  A seamstress with any experience would know a variety of seam finishes, however, and I chose to finish mine with my serger.  Another seamstress I know also made this pattern and did French seams.  The pattern had a few parts I found odd and hard to understand but I usually chalk that kind of thing up to my own extremely logical mind. I often have a hard time understanding directions the first time.  This pattern has a unique way of making the shoulders.  You make a gathered piece of fabric that you insert into each shoulder seam and sew into place.  Never having done that before, it was a tad odd for me.  But I think it turned out cute. 

I also had a slightly difficult time lining up the triangle piece in back so that there was enough room to do a button and button hole closure.  I had to redo placement of the back triangle piece on both the girl and doll versions a few times, pinning and repinning, until I finally got them both placed such that the back closed nicely and the triangle looked cute.  That being said, this did not leave enough room on the doll version to do a button closure and allow for the dress to fit over a doll's shoulders.  Thus, my doll version closes on one side, all the way down the triangle, with velcro.  I happen to prefer velcro on doll clothing, anyway, because it is easier for small hands to manipulate.

The other seamstress I talked with did some interesting horizontal adjusting of her triangle piece to make it fit.  It is always so cool to talk to other people who sew to see who does what, why, and how.  We both decided this pattern is not good for a beginner because you really must have the skills to adjust it to fit your model.  So, I say this pattern is pretty good, I will sew it again, and I recommend it to others who know how to go beyond a pattern and finish and tailor their sewing.

Hope that was helpful!


Sunday, November 24, 2013

30 days until Christmas! New Millie Rose Pattern

  
Did you know that there are 30 days until Christmas!  If you celebrate this holiday and you are a crafter, this is a big deal. This means you only have 30 days to finish your crafts!! Ack! This year, I want to do a lot of sewing and crafting so I plan to be very busy from here on out.  Technically, I started a week ago by making my youngest daughter this cute Christmas dress from the soon-to-be released Millie Rose Pattern.


Isn't this fabric fun! This is all Riley Blake fabric I got over a year ago and have been hoarding.  Last year, at this time, I had BPPV (Benign paroxysmal positional vertigo) and was unable to do much sewing. So, this lovely fabric has been waiting for a year to be made into something fun. 

And here it is.  This new pattern is a flutter-sleeved dress with sleeves that meet in the middle in the back. It has a sash and several tiers to the skirt. Each tier has a ruffle. It is a fun pattern, pretty to make and wear.  As soon as it is released, which should be any day now, I will share the link to the pattern. You will love it!  My friend Melissa has a sweet and fun way of writing her patterns and they are a joy to make. They are well edited for fit and sewing technique and a pleasure to sew. Highly recommended.


Here are some photos of the dress in action. 
My daughter is wearing the dress with a top I made from an Ottobre pattern. 

Twirl factor is important!

Fun dress, fit is good! I made the size 7 so I expect it to fit this holiday and next. 


Hope you enjoyed reading this! 

I have lots more Christmas sewing to come and am looking forward to sharing!


Friday, November 22, 2013

Cottage Peasant dress by Handmaiden's Cottage

This week, I had the real pleasure of pattern testing for the lovely Lynn of The Handmaiden's Cottage.  She has a new dress pattern coming soon that she is going to call The Handmaiden's Cottage Peasant Dress.  It is a great pattern that makes a beautiful dress. 

Here is my version!  Isn't it gorgeous! This is my cutie patootie 6 year old modelling it.   This is a peasant dress pattern with faux apron in the front. It is has 3/4 length sleeves that have a casing just above the elbow.  My daughter loves to wear pretty dresses but they have to be comfortable. This one passed the comfort test!  Unlike some peasant dress patterns, this one's bodice pattern pieces are slightly different front and back so you get a great fit. The skirt is meant to be slightly long, at about high shin lenght.


It has a sash that ties in the back. 

  
Here is a closeup of how the faux apron meets the skirt, in the front.  Can you see that the skirt has one long ruffle and the faux apron has three ruffles? Such a pretty detail!


 The sleeve has a pretty casing detail.  You can see it here in the mostly turquoise fabric that matches the sash. 


I have had these fabrics in my stash for years, literally, waiting for the right project and finally I found it. The sleeve, bodice, and skirt fabrics are all from Timeless Treasures and the ruffle and sash are by Michael Miller fabrics.  The MM line was called The Big E but I don't recall what the TT line was called and it wasn't named on the fabric itself. Just said by Timeless Treasures. 

As with most young girls, twirl factor is very important!!


Head on over to The Handmaiden's Cottage Facebook page and give Lynn some love! The pattern will be released very soon. I will let you know when! You are going to love it.


Tuesday, October 29, 2013

Millie's Flutter dress and the challenge of what to wear to school


Earlier this summer, I had the pleasure of pattern testing for my friend Melissa of Millie Rose patterns.   Her Flutter dress is a pure confection, so frilly and pretty. I love it! 

 More recently, I have taken the pattern and made it some minor changes to it. I love to personalize patterns in this way, to make them fit either my vision or that of my daughter of both.  The first new version was made as a dress-up dress for my 6 year old daughter.  She is very sensitive to seams and fabrics and wanted something that was comfortable. Most store-bought dress-up dresses are not comfy, so this was made to be super comfy. All the seams are contained and the fabric is quilting cotton. The pink unicorns are from Timeless Treasures and the skirt fabric is Michael Miller, from the Fairy Frost line. It is hard to see in the photos, but these fabrics sparkle! 


 She wanted a long skirt but one that ruffled up in the front, for easy walking.  To make the skirt, I just played around with making two curved front pieces, with ruffle attached, and used them as the the front part of the skirt.   I made the whole dress a size larger than she usually wears so it will last a long time. She can wear it with a t-shirt underneath.


More recently, I used the pattern again, this time for a halloween dress. The inspiration for this dress comes from the very talented Jeannine at Kinder Kouture. Her Cinnamon Avalon dress is so pretty! And everything she makes is lovely!  It is also made from the Millie's Flutter pattern, but with a pretty, faux bow in front. 


I winged it on the bow and it turned out pretty cute! I got this cute fabric off ebay and then used scraps from my stash for the rest.  I had just enough of each for what you see.  It is very long, which she usually likes, but apparently it is too long for school. So, it will be shortened and, hopefully, worn to school tomorrow. Again, it is a is bigger so she can wear it longer.  


Elwood had to get into the picture! He's our super friendly kitty.  She's not pulling his tail.  She was just petting it! He will let you pet every single part of him, he is so easy going.


Sunday, June 23, 2013

Millie's Flutter dress pattern - review and a tutorial


I am fortunate to have some very creative sewing friends who make patterns they allow me to test for them. Not only is it fun to try new sewing ideas, but it is a great way to support each other as friends.

This week, I am proud to show you my version of Millie's Flutter dress by Millie Rose Pattern's and Sugar Bug Clothing's Melissa.  Here is Melissa's version:


 And here is my version!  This was a fun pattern. It was easy to follow. It has a few pattern pieces to print and then some rectangles to cut out.  It all comes together nicely and it can be made with the bib, as Melissa did above, or without, as I did below. The instructions are clear and easy to follow and this style is very versatile. I forsee making on in lightweight cord, for fall and winter. My daughter can easily wear a top under it for warmth.   It has elasticized, flutter sleeves and two rows of elastic in the back, so it fits great. Melissa's instructions are well done and the pieces print nicely.


Tutorial for 18" doll version of Millie's Flutter


 I got creative and made a doll version to match.  Melissa like it so much she asked me to put together this tutorial. It isn't really a tutorial, because you will use her directions, but I did design the 18" doll pattern pieces and measurements.

Here is the first dress I made, to match the one for my daughter. This is American Girl doll, Caroline.  It fits slightly above her knee.


 I made a second version for another 18" doll we have by Madame Alexander Company. It fits the same. As you can see, this one has the bib.   For other brands, please tailor as you sew, just in case her measurements are not the same.  For these two doll companies, their measurements are identical so this dress will fit.


 Step one, buy Melissa's pattern! Link is in 2nd paragraph, above. All the directions are in her pattern. You will just use my measurements and pattern pieces, as per her permission.

 Here are the measurements, in inches, for cutting straps, skirt, and sash:

Bodice back 2 X 10.5
Top tier skirt 3.5 X 21  cut 2
Middle tier 1.5 X 21 cut 2 
Skirt ruffle 21 X 4 cut 2
Sash front 3 X 7
Sash ties 2 X 14 cut 2
Bib ruffle 2 X 15
Sleeve elastic 3.5 X 1/4
Back elastic 5.25 X 1/4
Back straps should be 2" from center
Front straps align with bib or 1.5" from center

 If you want a long skirt, just add an inch to each skirt tier. Sash ties will be too narrow to fold as Melissa does in pattern so just align with topstitching of front sash.


Here is the pattern piece. This image has been sized down to fit on this blog but it will be correct size when you download it.  To begin, drag this picture from your screen to your desktop.  I have an imac so I am not sure if that will work for PC users.  If it does not, please download this image as you would normally.  When you print, you want to print entire image. Do not scale, unless it does not print correctly the first time. If you continue to have any issues, you may come to my Facebook page and message me and I will send you an attachment of the image and/or try to help in other ways.   This should print out on one 8.5 X 11 inch printer paper with the 1" square measuring correctly. If yours does not print correctly, please adjust your sizing. Contact me on Facebook for questions.


Please understand that the images in this blog are copyrighted as are Millie's Flutter directions and images. Do not copy these images to another blog or use them for any purpose.  You do not have permission to use these directions to make and sell your own pattern. You do not have permission to do anything other than share this tutorial and information, for free, with other people so they can also use this pattern for their own personal use. You have permission to use this pattern for your own personal use or to sell items made from it for small-scale, home-based businesses only. Any mass production of this pattern is forbidden. 


Thursday, April 18, 2013

The Perfect Party Dress - pattern review and pleated bib tutorial


This week, I had the pleasure of testing a new pattern from Tie Dye Diva.  I really do love her patterns! There is a simplicity of style to them that pleases me.  I am not a fan of mega ruffles (to each, her own). And they are always written and tested to precision, so I know they are going to fit great and look great.  This one was no exception.   Here is The Perfect Party Dress. We don't actually have a party to go to but hey, why not wear a tiara at home?


This dress is about knee length, so it looks very sweet for spring. It has a front sash piece that is attached to the bodice and then two sash ties at the side.  It should have four buttons down the back but I made a goof and only did three. That is not the pattern's fault. I failed to pay attention to directions.  My bad.  However, the pattern is very well written, the bodice is fully lined, and the bodice instructions help you create a gorgeous bodice.  There are plenty of pictures in the pdf pattern document for you to easily follow what Jen is describing. The pattern also has an optional bib piece, which I chose to sew. 


As you can see, the bib is quite wide so it looks classy to me, not like a baby bib. My almost six year old daughter was concerned about this.  The bib itself is a simple piece but Jen shows you how, in the directions, to add ric rac trim or you can do a ruffle trim.  I also added some pleating and will explain how I did that below. I really like this pattern and highly recommend it. I love a pattern that has a lot of options. I chose not to do the ruffle on the skirt and added ribbon trim instead. But, you could easily bling this dress up or down. Following the finished measurements guide, I made a size 6 for my size 6 daughter and it fits perfectly. 


So, here is how I made the pleated effect on the bib. 

First of all, I cut out the bib piece as per the pattern.


Next, I took the fabric I wanted to use to create the pleats and cut a square of it that is about one inch all the way around my bib.  I am writing these directions so you can do this effect with any size bib. My bib in this picture is for a size 6. 


As you can see, it is about one inch larger than the bib. 
It does not have to be 100% exact.


For the next step, iron the bib and the pleat fabric in half, so you have a line down the middle of each.  You can see that above.  Iron the sides of your pleat piece down one inch. You can see this below.


Align the middle of both pieces of fabric and pin your pleat piece down to your bib, right side of bib to wrong side of pleat piece. The ironing line is the mark of the middle. 


Now, you are going to pull the side seam of the pleat piece over about one inch from the fattest part of the bib, as seen below.


Pin into place. 


Make sure the top of the pleat piece is covering a bit of the top of the bib. Below, I have lifted my pleat piece to show you how it covers just a few centimeters of the top part of the bib.


When it is laying down, it should barely cover that top bib piece. Make sure your pleat piece sticks out about an inch over the top and bottom of bib.

Now, this part is a bit creative.  I take the fabric in between the two pins and just fold it over until it looks centered, with the fold going away from the middle. Since I am writing this tutorial for every size, there is no measurement here. Just eyeball it and redo it as much as you need to do until it looks good.


 Pin it into place on both sides. Measure to make sure your two pleats are about the same size. My middle pleats were both 1 and 3/8ths inch from center line and my outer pleat was 1 inch from the middle pleat.  Don't be afraid to unpin and redo.


When I look at the underneath of the pleat fabric, I can see that the pleats look symmetrical. Yay!


Pin it down a bunch.


 Top stitch the pleats. You don't have to stitch down the middle if you don't want. It just depends on what is in your creative brain!  What look are you going for?


Turn it over and trim excess. 


Add embellishments, if you desire.  Finish the bib as per Jen's directions in The Perfect Party Dress pattern.  Enjoy!


Here is what my finished bib looks like.  
 added this lovely wide ribbon from Les Bon Ribbons down the front. 
If you don't know this store, you MUST check it out.


And, here is the pretty princess in her Perfect Party Dress.


Happy Sewing!


PS This is this week's tutorial but I was so busy with the dress on Tuesday, I couldn't get the tutorial done on time! Sorry!