

This week, I had the pleasure of testing a new pattern from Tie Dye Diva. I really do love her patterns! There is a simplicity of style to them that pleases me. I am not a fan of mega ruffles (to each, her own). And they are always written and tested to precision, so I know they are going to fit great and look great. This one was no exception. Here is The Perfect Party Dress. We don't actually have a party to go to but hey, why not wear a tiara at home?

This dress is about knee length, so it looks very sweet for spring. It has a front sash piece that is attached to the bodice and then two sash ties at the side. It should have four buttons down the back but I made a goof and only did three. That is not the pattern's fault. I failed to pay attention to directions. My bad. However, the pattern is very well written, the bodice is fully lined, and the bodice instructions help you create a gorgeous bodice. There are plenty of pictures in the pdf pattern document for you to easily follow what Jen is describing. The pattern also has an optional bib piece, which I chose to sew.

As you can see, the bib is quite wide so it looks classy to me, not like a baby bib. My almost six year old daughter was concerned about this. The bib itself is a simple piece but Jen shows you how, in the directions, to add ric rac trim or you can do a ruffle trim. I also added some pleating and will explain how I did that below. I really like this pattern and highly recommend it. I love a pattern that has a lot of options. I chose not to do the ruffle on the skirt and added ribbon trim instead. But, you could easily bling this dress up or down. Following the finished measurements guide, I made a size 6 for my size 6 daughter and it fits perfectly.

So, here is how I made the pleated effect on the bib.
First of all, I cut out the bib piece as per the pattern.
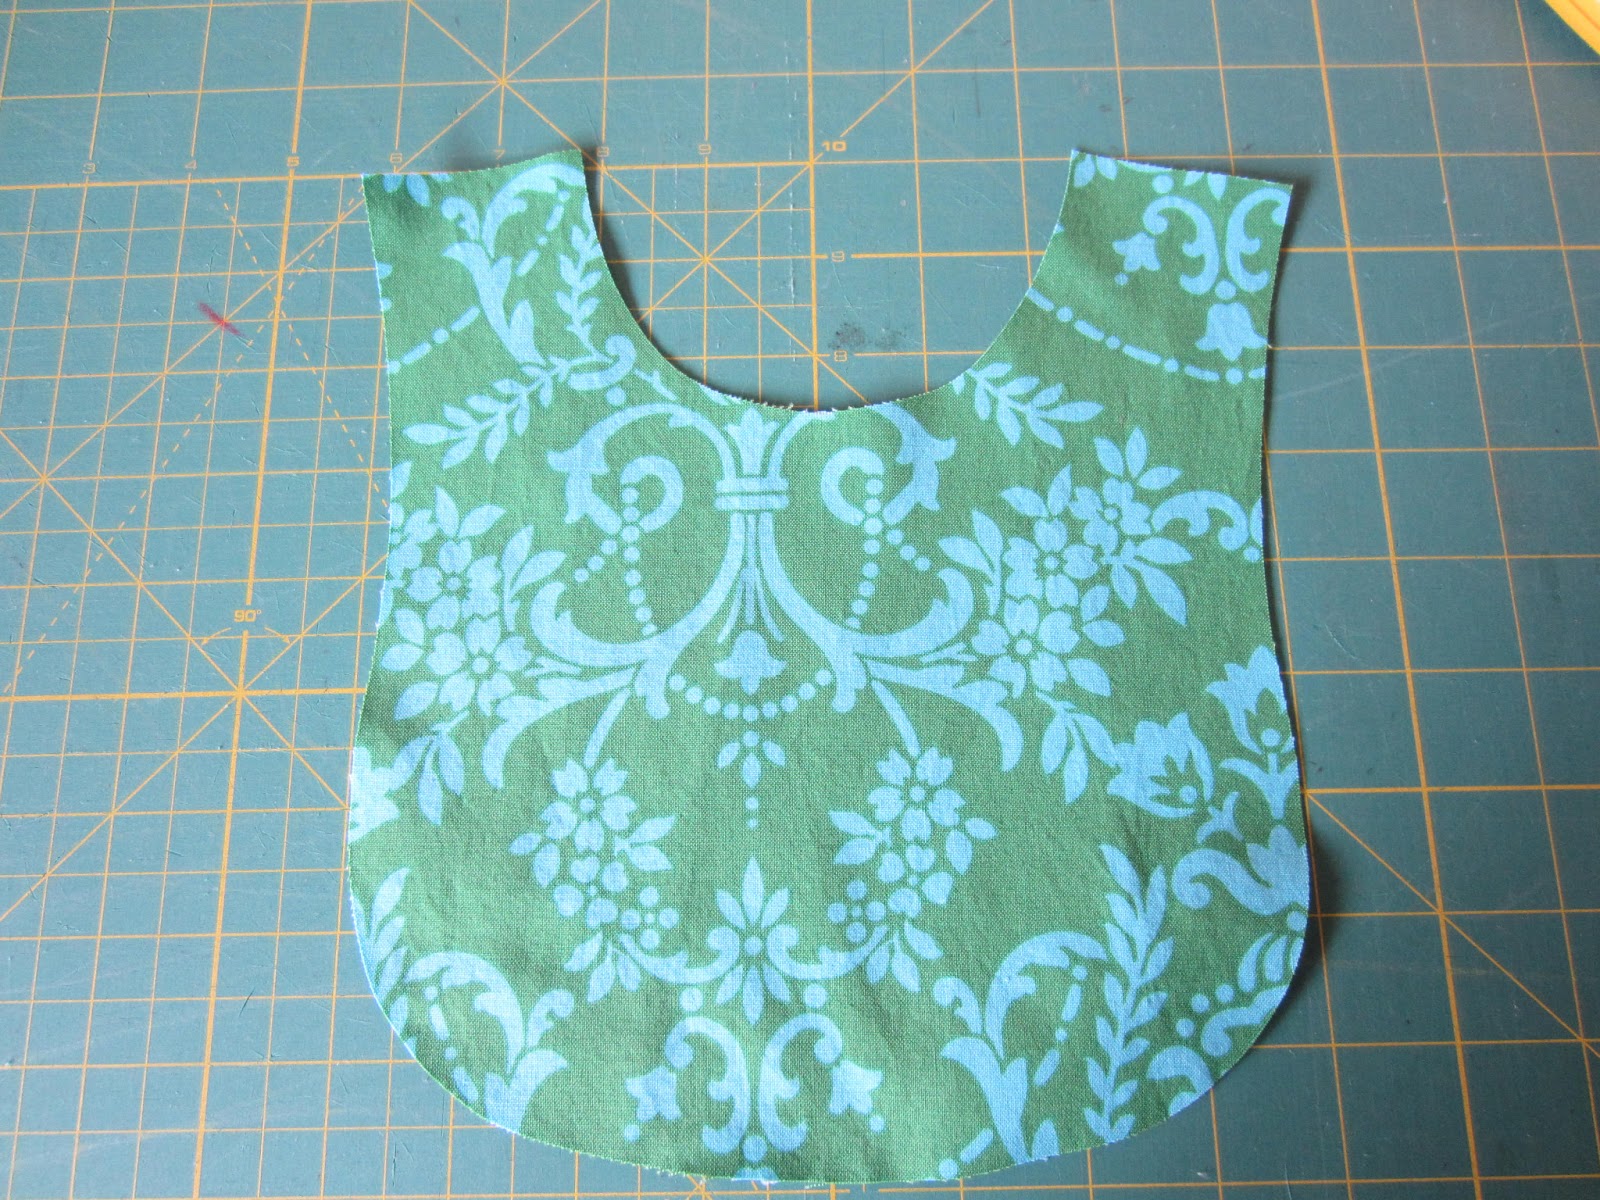
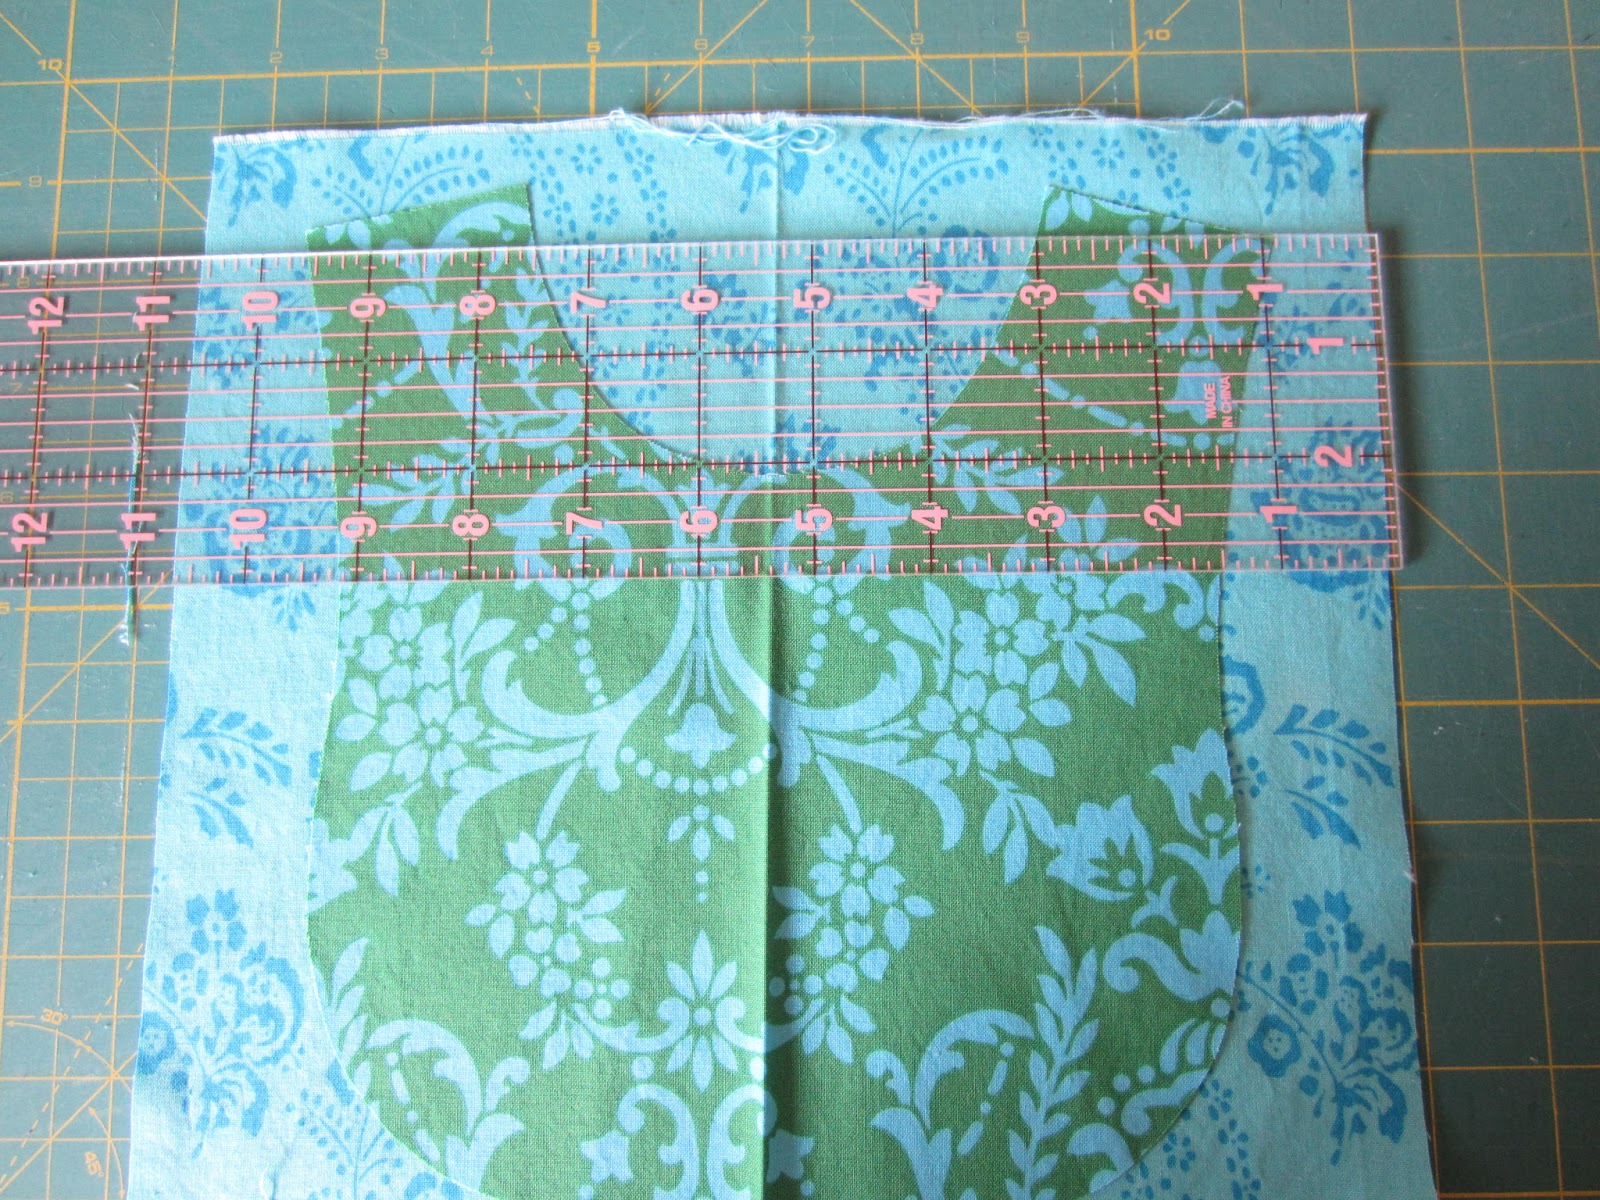
Next, I took the fabric I wanted to use to create the pleats and cut a square of it that is about one inch all the way around my bib. I am writing these directions so you can do this effect with any size bib. My bib in this picture is for a size 6.

As you can see, it is about one inch larger than the bib.
It does not have to be 100% exact.
For the next step, iron the bib and the pleat fabric in half, so you have a line down the middle of each. You can see that above. Iron the sides of your pleat piece down one inch. You can see this below.

Align the middle of both pieces of fabric and pin your pleat piece down to your bib, right side of bib to wrong side of pleat piece. The ironing line is the mark of the middle.

Now, you are going to pull the side seam of the pleat piece over about one inch from the fattest part of the bib, as seen below.

Pin into place.

Make sure the top of the pleat piece is covering a bit of the top of the bib. Below, I have lifted my pleat piece to show you how it covers just a few centimeters of the top part of the bib.

When it is laying down, it should barely cover that top bib piece. Make sure your pleat piece sticks out about an inch over the top and bottom of bib.

Now, this part is a bit creative. I take the fabric in between the two pins and just fold it over until it looks centered, with the fold going away from the middle. Since I am writing this tutorial for every size, there is no measurement here. Just eyeball it and redo it as much as you need to do until it looks good.

Pin it into place on both sides. Measure to make sure your two pleats are about the same size. My middle pleats were both 1 and 3/8ths inch from center line and my outer pleat was 1 inch from the middle pleat. Don't be afraid to unpin and redo.

When I look at the underneath of the pleat fabric, I can see that the pleats look symmetrical. Yay!

Pin it down a bunch.

Top stitch the pleats. You don't have to stitch down the middle if you don't want. It just depends on what is in your creative brain! What look are you going for?

Turn it over and trim excess.

Add embellishments, if you desire. Finish the bib as per Jen's directions in The Perfect Party Dress pattern. Enjoy!

Here is what my finished bib looks like.
added this lovely wide ribbon from Les Bon Ribbons down the front.
If you don't know this store, you MUST check it out.

And, here is the pretty princess in her Perfect Party Dress.

Happy Sewing!

PS This is this week's tutorial but I was so busy with the dress on Tuesday, I couldn't get the tutorial done on time! Sorry!
I LOVE the pleated bib! Lovely dress, thanks for the walk through, I'm going to have to try this one!
ReplyDeleteShelly
www.SoTweetFabrics.etsy.com
I am so glad! I really worked on this, to make it simple to understand. I am a tad crazy for pleats right now!
ReplyDelete