Just how do you make the knit ruffle floral rosette swirl above? Well, after much practice, I think I have it down. So, I thought I would share.
Now, keep in mind that my brain seems to work differently than the average person. For example, jokes usually have to be explained to me. This tutorial may not be the best way to do this ruffle or the most common way, but this is where I ended up after trying it out a few other ways.
Here we go!
First of all, this is luscious bamboo knit jersey fabric I bought off
Etsy from Bamblue Fabrics. I was looking for this particular color and not necessarily for bamboo. But, I have to talk up this knit. It is incredible! It washes great, did not shrink a lot, and is the softest fabric this side of fine silk. Seriously! Buy some!
Okay, here's the tutorial:
1. I folded the fabric in half the long way, and in half again.
2. I cut out one two inch wide strip with my rotary blade. I think it would be hard to cut this knit with scissors because it wants to curl. I used the rule to hold it down. It is sheer concidence that my ruler is two inches wide.
3. Now I have a long, bamboo knit snake!
4. I used my hem gauge to find the middle and I sewed a long stitch down the whole middle. My machine has stitch length zero to 4. I chose stitch length 4.
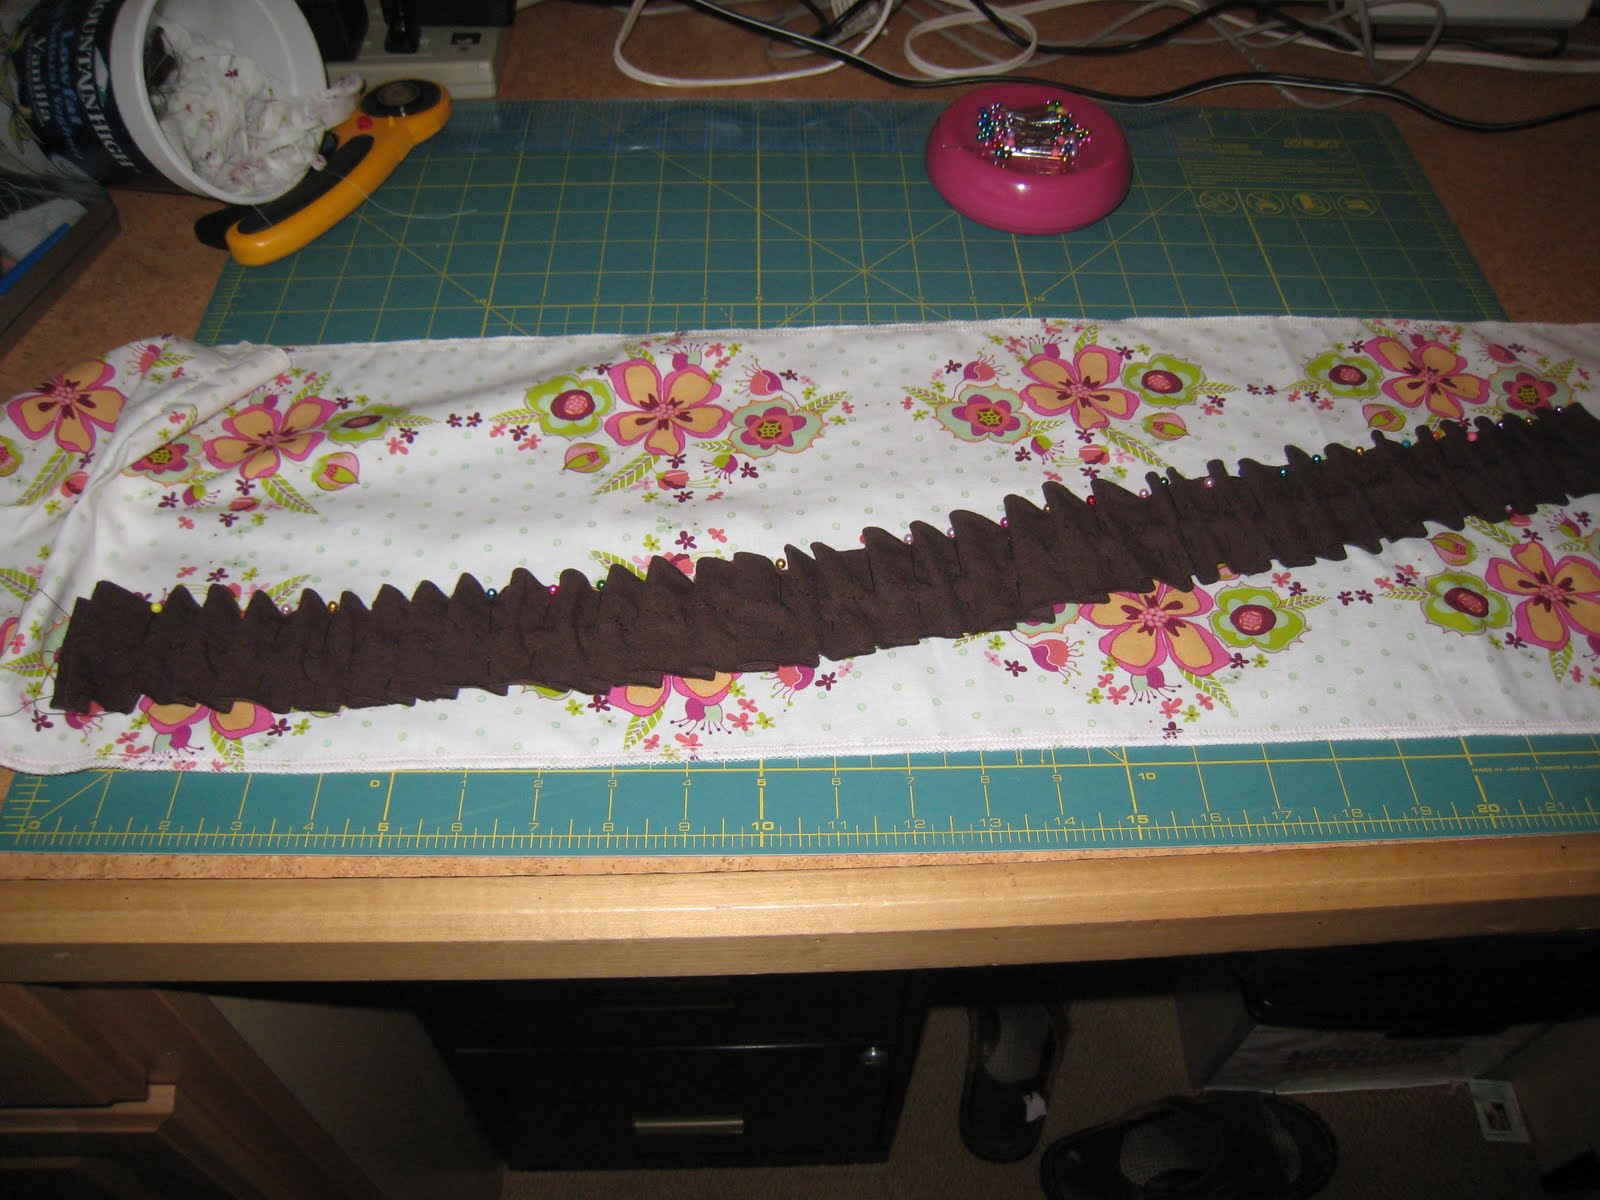
5. I pinned it to the fabric by hand, scrunching up about an inch as I went along and pinning about every half inch. Does that make sense? It looks like this when done. I had marked my starting point and ending point on the skirt panel so I knew where I was headed and I just eyeballed how to make it even from one side to the next. This is a skirt for a size 2T top. If I was making a larger top, I would use the same length of knit but it would not be as ruffled and it would not wrap around the back, as this one is going to do.
6. Taking the end thread, I gently pulled, using my hands to space out the ruffle as I went and making sure it did not pull the fabric along with it. I do it this way because ruffling it first by hand created a piece of ruffle that was very difficult to pin and sew down. I do not have a ruffle attachment for my machine nor does my serger ruffle very well. So, I do it by hand. Ruffling with wovens is much easier but knits are more difficult.
7. Then, I sewed right on top of the previous stitch, this time not such a long stitch. My machine has stitch length zero to 4. This is stitch length 3.
8. Now, it looks like this.
9. Now, I need to make the swirl. This time, I folded the knit in half width-wise and cut out a two inch wide piece. Again, I am making this up because I don't actually have a pattern for this!
10. I started in the same way as above, by sewing a long stitch down the whole length of the piece of fabric. Next, I start by overlapping what I had just sewn on and, using the same technique, I pinned about every half inch while gently pulling up about a half inch to one inch of fabric. I turned as I was doing this. I only do the outer part of the rosette.
11. I then pulled the end string gently to create the ruffle and sewed it one, again sewing right over the previous stitch. I did this very slowly and used my fingers to adjust the ruffles a lot.
12. This is what it looks like now.
13. I pinned back the insides of the rosette so that I won't sew over them for the next step.
14. Using the same technique, I pinned the inside of the rosette making sure my stitches will not overlap the outside layer. I sewed this very slowly, making sure to take pins out as I sewed so I didn't sew one and break a needle. I also used my fingers a lot to make sure the rosette would come out the way I wanted it. This is a very forgiving fabric so you can be a tad messy with it and it will still look like a flower.
15. Finished!
16. A blow of steam from the iron later.....
17. And, once again, the finished dress. This is a rather large rosette. If you want a smaller one, you could just make the swirl tighter together or make the knit less wide.
Voila!


love it thank you
ReplyDeleteAlso, if you put your hand flat on the fabric as you pull the thread to ruffle, it helps it look neat.
ReplyDeleteWaht a great tutorial! Very well written. Cute dress!
ReplyDelete