Monday, June 30, 2014

Summer vacation time!

It is time for the handmadresshaven girls and I to hit the road. We are leaving dad and all the pets at home while we travel to visit the grandparents. We are extremely lucky that our parents live in lovely places (with great fabric shops) and summer is the best time to visit them. 

First stop, we will be on lovely Bainbridge Island, which is across the Puget Sound from Seattle.   Here is an image of Bainbridge taken from Google Eart (my screen shot).  See how green it is? It's a lovely little island with a lot of forest and farms and cute little town near the ferry terminal.


Here is the view from town looking over the ferry towards Seattle and the Cascade Mountains. If we are lucky, this is what our weather will look like!  


We will stay there for a few days and then head to Bend, Oregon to visit my parents. Bend is a much larger city, in the high desert, near several vacation resorts. In winter, there are lots of snow sports and, in summer, it is a hub of activities like rock climbing, white water river rafting, kayaking, fishing, camping, golf, and more. We don't do any of that, tho, but we love the historical museum, the terrain, visiting the lakes and caves, and enjoying the fourth of July festivities.   Here's an aerial shot from Google Earth.  Bend is very dry, but the green mountains are right nearby.


One of our favorite things to do is visit Drake Pond, right in the center of Bend. 

My parents live near the edge of Bend and so their nighttime view looks a bit like this. They have 8 dry acres but they are still fun for the kids. 


That is what I am going to be up to for the next week and a half. I hope to get to a few fabric stores for fun and, of course, the new Jenny Eliza line from Jennifer Paganelli will be out today, my big driving day. So, you might find the girls and I having potty stops at every Joanns between Bainbridge and Bend!  You think I am kidding!! Nope!


Thursday, June 26, 2014

Sewalong giveaway and linky party


For all Tie Dye Diva sewing pattern fans and sewalong participants, I have put together some great prizes.  Because the sewalong was not as big as I had hoped, I am opening up the prizes to anyone who has sewn the Tie Dye Diva sewing patterns Easy Peasant and Storybook Pinafore.

Here is how to enter: 

1.  You can share your sewing here, in the linky party, or you can share on the Tie Dye Diva Facebook page.  That sharing earns you one entry.

2. Go to the giveaway information post and visit the sponsor's stores and post back about what you like. This earns you another entry.

It's that simple! 


Note:  For the linkup, you can add a picture from instagram, a blog, photobucket, or another photo sharing site. It's that easy!!


Wednesday, June 25, 2014

Bundle Up Blog Tour - Sisboom Jenny Dress

It's Bundle Up time at Pattern Revolution again and this time it is women's patterns. "Bundle UP is a collective of your favorite established PDF sewing pattern designers coming together to offer you a sweet deal on both hot new patterns and your favorite closet staples from recent releases."  You can build the bundle you want, with the patterns you want. It is a great idea and a fun way to get the patterns you want to sew.

http://bundleupsale.com/product/womens-bundle-up/

One of the patterns in the Bundle Up is Sisboom Jenny. This fab pattern can be a top, tunic, dress or maxi.  It can have cap sleeves, no sleeves, or a ruffle down the front.  As with all Sisboom patterns, it is extremely well written and you will not go wrong if you follow the directions.  Carla is one of the best pattern writers in the blogosphere and she has been doing it longer than most. 

I was hesitant to sew something for me because I am no skinny minny anymore. But Jennifer sent me some of the new Beauty Queen fabric and I just fell in love with this print. This is Charlotte in green.  Isn't it pretty? And I do think this is a good color for me, so it was meant to be used to make a Jenny.

Now, be kind. I am not a skinny minny and sewing for oneself is hard. I truly did the best I could and hope you don't find fault!    The pattern is amazingly well written. It is truly impossible to go wrong with a Sisboom pattern.  If you measure yourself well and make a muslin, it will fit!  I made my muslin out of Swedish Tracing paper and the dress turned out great. I only had to take in the sides a smidge but tailoring a tiny bit is pretty much assumed when sewing for grownups.  

I did make one major booboo and that is I forgot about the pattern when I cut out the bodice parts. I paid attention to the waist band, as you can see by the excellent print placement, but did not do so good with the bodice. So, I added the ruffle after the fact, to cover the booboo, and I like it!  It wasn't hard to fix.

What is amazing about Jenny is all the options! You can make the skirt mini to maxi and everything in between. You can make it a tunic. You can add cap sleeves. There are so many options. And the way Carla teaches you how to install a zipper is fool proof! Seriously!!  The bodice is fully lined so all the seams are enclosed.  It is not a hard pattern to sew, but it does have a lot of steps. And be sure to sew a muslin!  Whenever you sew a pattern for the first time for yourself, you need to sew a muslin.  Remember: There is no such thing as true to size, only true to your size.  So, always make a muslin the first time.


Here is information on the rest of the tour. Check out the rest of the bloggers!


June 20
June 21 
June 22
June 23
June 24
June 25
June 26
June 27

Tuesday, June 24, 2014

Breeze Top Pattern Tour - My turn


Today, I am part of the Breeze Top Pattern Tour!  Fun stuff here. It can be very hard to be the other of a tween or young teen, because of the vast amount of clothing choices that make us cringe. They are too short or don't cover enough or have inappropriate slogans or cost a fortune or are made by slave labor. Or all of the above! And they are not little kids anymore so they don't want to dress like their younger siblings. What's a sewing mama  to do? Well, Shannon, at little kids grow and Peaches and Peanuts Patterns, has designed this cute little top to help give us options. 

Here is the Breeze Top. It is a stylish, sleeveless top with a gently draping skirt.  It has a razor back yoke and can be made in both knit or woven.  I made mine with cotton lycra knit bodice and polyester ruffle knit skirt.  This is a size 14 taken in a smidge at the back for a custom fit. The fabrics were found at Joann's, which was a total surprise.  Knit choices at Joann's can be hit and miss but we made a hit here.  My 11 year old LOVES this top. It is comfortable and because it the bodice is double sided, effectively enclosing all seams, she has nothing itchy against her skin. This is very important for this girl.  Great job, Shannon.


This is a fun pattern and it is not hard to sew.  Because seams are mostly enclosed, it is comfortable to wear.  Knits are easier to sew than you think so don't be afraid. The directions are clear and well done and graphics are simple to follow.  Buy this pattern! You won't be sorry. 

******************************************************************

I almost forgot. The Breeze Top pattern will be 25% off next week with the code "BREEZETOUR" on  the  Etsy site. (EXP. June 27th 11:59pm)
Site:
Etsy:https://www.etsy.com/shop/PeachesPeanuts


And there will be a giveaway!
Be sure to visit Shannon's blog at little kids grow and Peaches and Peanuts Patterns.
The giveaway will be live all week.  Good luck!!!

And check out the rest of the blogs all week long for more Breeze Tops. 


breeze pattern blog hop


Monday, June 23, 2014

Tie Dye Diva Sewing Patterns - Storybook Pinafore Sewalong


It is week two for the TDD sewalong and now it is time to make the pinafores. 


Don't forget that the pinafore pattern is on sale in the Tie Dye Diva Store for $6.50.  The Peasant patterns are already at a very low price, $5.95, and you can use the code BUNDLE when you buy three or more patterns, so this is an awesome deal!!  You can buy baby or girl sizes for this sewalong.  Or all four!

In case you missed it, here are the posts for last week.


Monday, June 16 - Introduction
Tuesday, June 19 - Giveaway info!
Wednesday, June 18 - Put patterns together and cut them out. Begin sewing Peasant dress.

And here is this week's schedule:

Monday, June 23
  • Begin Pinafore
Wednesday, June 25
  • Finish Pinafore
  • Start sharing!
Friday, June 27
  • Share your finished dresses! You can share on my blog's linky party and/or TDD sewing group on Facebook. Both sites will make you eligible for the prizes 
Saturday, June 28
  • Keep sharing!
Monday,  June 30
  • Giveaway day!  Two winners will be announced.

 ****************************************************

 Before we get started on the pinafores, I need to let you know that I originally made my pinafore in two fabrics. Some photos will show strap and sash in a navy print. I ended up ripping out seams and removing that print because it was just too busy and the print placement did not look good. I redid the pinafore in the raindrop fabric.  

I highly recommend you use one fabric for your pinafore, to avoid such problems. 

 ****************************************************

-->
Pinafore Sewing tips - the pattern is great but here are a few tips to help you.
1.      Tip: Cut a ruffle pattern piece as a guide to iron the first ¼ inch down. Cut out a new one so you don’t iron the ink or tape on your first one. Turn off steam as it will dampen the paper. 
2.      The secret to turning little pockets easily is ric rac! You will need 12 inches of ric rac, medium size is best.  Sew ric rac to one half of each pocket pair, the side that will be your inside. Sew so the bumps are mostly inside and sew just the humps, as shown in this picture. Pin each pair together and sew along the same seam you just made.  Turn right side out. Use ric rac to pull pockets into shape. Iron and proceed.
sewing pockets easier
3.      Tip: If you are using a print, fussy cut your pockets so they show something fun.  My print is whales. One whale fit perfectly into one pocket but I had to make it a tad wider than Jen’s pattern.  For another pocket, I used the same size but I appliqued on the tail.  I didn’t want to have two of the same whale as pockets!
4.      Here is how I center pockets. Iron the skirt in half side to side.  Fold in half again, side to side.  Fold top to bottom. Iron really well. Open it up flat and now have a grid ironed onto your skirt. Center the pockets either just below the middle line or right smack in the middle.  You can also iron the pockets in half one-way and then half the other way to make a grid on them. Helps in lining things up!  You can see the marks in the photo above. 
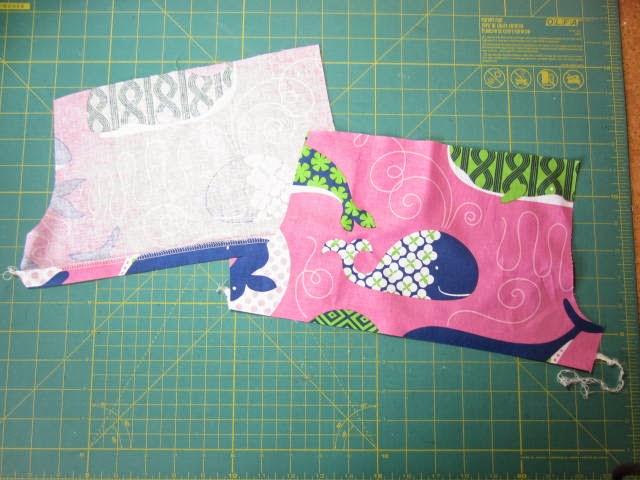
5.  Pay attention to fussing cutting so your print isn't going sideways, like I did here.  
 6.  Bodice tip: for straps, after you sew all four strap pieces on, but before you attach ruffle, fold all four outer edges ½ inch and iron. This will give you a mark for where to sew your ruffle and then where to sew inner strap.  Use your iron in between each step to make sure the strap is flat before you sew. And don’t worry about visible gathering stitches because they are easy to remove. Just gently rip them out and steam iron and your bodice will look great. It will look beautiful inside and out. 
7.  When you attach the skirt, use lots of pins. Don't worry so much about the gathering stitches showing. It is more important to get it all pinned and sewn down neatly.  Go slowly and use a lot of pins.  Remove gathering stitches with your stitch rippers when you are all done. 
 
And now you should be done! I will be on Facebook a lot this week, so let me know if you have any questions. You can post them in the Tie Dye Diva sewing patterns facebook group or here on the blog.
 

Wednesday, June 18, 2014

Tie Dye Diva Easy Peasant and Storybook Pinafore Sewalong - Begin the peasant dress

peasant dress sewing pattern

 Today is day three. We've already talked about the project and the prizes but here are the links if you need to catch up. It's not too late to join. 
Tuesday, June 19 - the giveaway prizes

A few tips  before we put the pattern together

1. It is important that  pay attention to Jen’s directions in the pattern if this is your first time making these patterns. She writes the best directions in the pdf pattern world. You can trust her and follow them to the letter. If, however, you have made a pattern before and have a more comfortable way of sewing, by all means do it your way.

2. How to choose a size. This is probably the most commonly asked question in sewing. Trust the Tie Dye Diva size chart.  My mode's mother measured her chest at 20" and she is 35" tall. Since I want her to be able to wear this for a while, I am going to make her a 2T/3T in the girl's peasant dress pattern.  Remember that the chart is for body measurements, not age or finished garment measurements. 

3. On to style! I have decided to sew the short sleeves style for my first example but I will also cut out and start a flutter sleeve example in case you have questions about that style.  I am also doing the ruffled hem. There are so many options with this peasant, so choose the one that suits your style.

4. Fabric choices.  You can use any mid or light weight quilting cotton or anything that is about the same weight. Voile would be pretty and a tad more dressy. Batiste or swiss dot would also be pretty. Eyelet, gingham, light-weight linen, poplin, or seersucker would all also be darling.


Tip!  I recommend choosing two fabrics at most for the dress and two at most for the pinafore but watch for busyness. I initially had too many prints in my pinafore and it was way too busy. I took it apart and recreated it with just one, except pockets.  It looks much nicer!

Time to print out the pattern and start putting it together!

1.  Print out your pattern and make sure your 1" square measures 1." I like to lay out the pattern, as you see below, before I cut it out. That way, I make sure I have all the pieces and I know where they are going to go.  I don't have a large cutting area, so I then stack them up in rows and cut and paste one row at a time. Make sure the marks all line up correctly and the numbers are in order before you start cutting.


2. I like to cut off one side and then tape it to the other.  This is just my preferred way. You might have your own.


3.  After I put together the rows, I start attaching them to each other to make the whole pattern. Here is where mistakes might happen, in my experience, so use your scissors and recut and retape if need be. Get those marks all lined up nicely!!


4.   My secret weapon is my old school tape dispenser! It makes a great pattern weight.


Tip:  If you are going to this pattern over and over, consider keeping it all in one piece and using Swedish Tracing Paper to trace out just the size you need. Swedish Tracing Paper can be bought at Amazon (affiliate link in side bar).  I love the stuff!!

Time to cut out the pattern pieces!

I didn't take pictures of this part because my sewing area is so small but I want to remind you to make sure to note the notches for the front and back dress and sleeves. This is very important! The back of the dress is higher than the front, so you need these notches to line everything up correctly. Here are my pieces all lined up.


Time to sew!

The directions are awesome, so I will just mention a few tips and then you can ask me any questions YOU have about sewing this pattern together.


When you sew the hem of the sleeves, do you want to add trim?  Be aware of the shape of the sides. There is an indentation for ironing the hem properly.  Do some fussy cutting on the sleeves, like I did, so your print is featured!


I used white tailor's chalk, so it is hard to see, but my front sleeve notches line up with the front dress notch. Yay! Now my dress' sleeves will match the body of the dress.  Pay attention to this!


I have two specialty feet for my sewing machine, one gathers and one ruffles. I use one of them to gather my ruffle hem. But Jen's directions for gathering are also great! Before I got the specialty feet, I used fishing line and zig zag to gather.


A tip for the elastic - Safety pin the end to the opening so you don't lose it. 

Iron and admire your dress!


Tomorrow, we will learn more about the sponsors and continue to sew the peasant.  I will talk more about the flutter sleeves tomorrow.  Friday will be for finishing up the peasant. 

Thanks for joining!


Tuesday, June 17, 2014

Tie Dye Diva Easy Peasant and Storybook Pinafore Sewalong - Giveaway information


http://handmadedresshaven.blogspot.com/2014/06/tie-dye-diva-easy-peasant-and-storybook.html

Did you read yesterday's post about the sewalong I am hosting?  For the next two weeks, I will be leading you in how to sew the Tie Dye Diva Easy Peasant and Storybook Pinafore. Yesterday was information day so please read the post to learn about what we will be doing, get sale information on the patterns, and more. 


Today is prize information day! Yes, there will be prizes for this sewalong. This is my first time hosting a giveaway and I jumped in the deep end and got sponsors to give us prizes. These prizes come from trusted stores I know and love so I hope you are excited about them!

First, I will show you the prizes and then I will tell you how you can win them.  Everyone who participates in the sewalong is eligible for all the prizes. All you have to do is share your finished pinafore, peasant, or both.  


Prizes
(these prizes are equal in value!)


 First Prize
Three yards of Blend Fabrics Maisie line, one yard of each fabric seen above.  Maisie was designed by Maude Asbury and is luxurious quilting cotton.


 Second Prize


 A $25 gift certificate from Banberry Place Fabrics and a selection of fold over elastic (FOE) from Elastic by the yard


Third Prize


A $25 gift certificate for Pink Chalk Fabrics and three sets of buttons from Lyanwood.


These are all fabulous prizes!  Here is how you can win.  UPDATED!

1. Share your TDD peasants and pinafores here, in the linky party, or you can share on the Tie Dye Diva Facebook page. That sharing earns you one entry.

2. Visiting all five stores above and commenting ON THIS BLOG POST about one item from each store that you like the most. That earns you another entry. You get one entry per comment, per store.

6.  On Monday morning June 30th, I will use the random number generator to choose the three winners! You can only win one prize each, even if you enter twice.  That's fair!  


Does that all make sense? I want to make these a fun sewalong and I want you to visit the sponsor's but I don't want to bog this down with liking pages or tweeting or anything else that really doesn't relate.  


So, sewalong and enjoy!  Please send me questions here or on Facebook!


Monday, June 16, 2014

Tie Dye Diva Easy Peasant and Storybook Pinafore Sewalong - Introduction


peasant and pinafore patterns

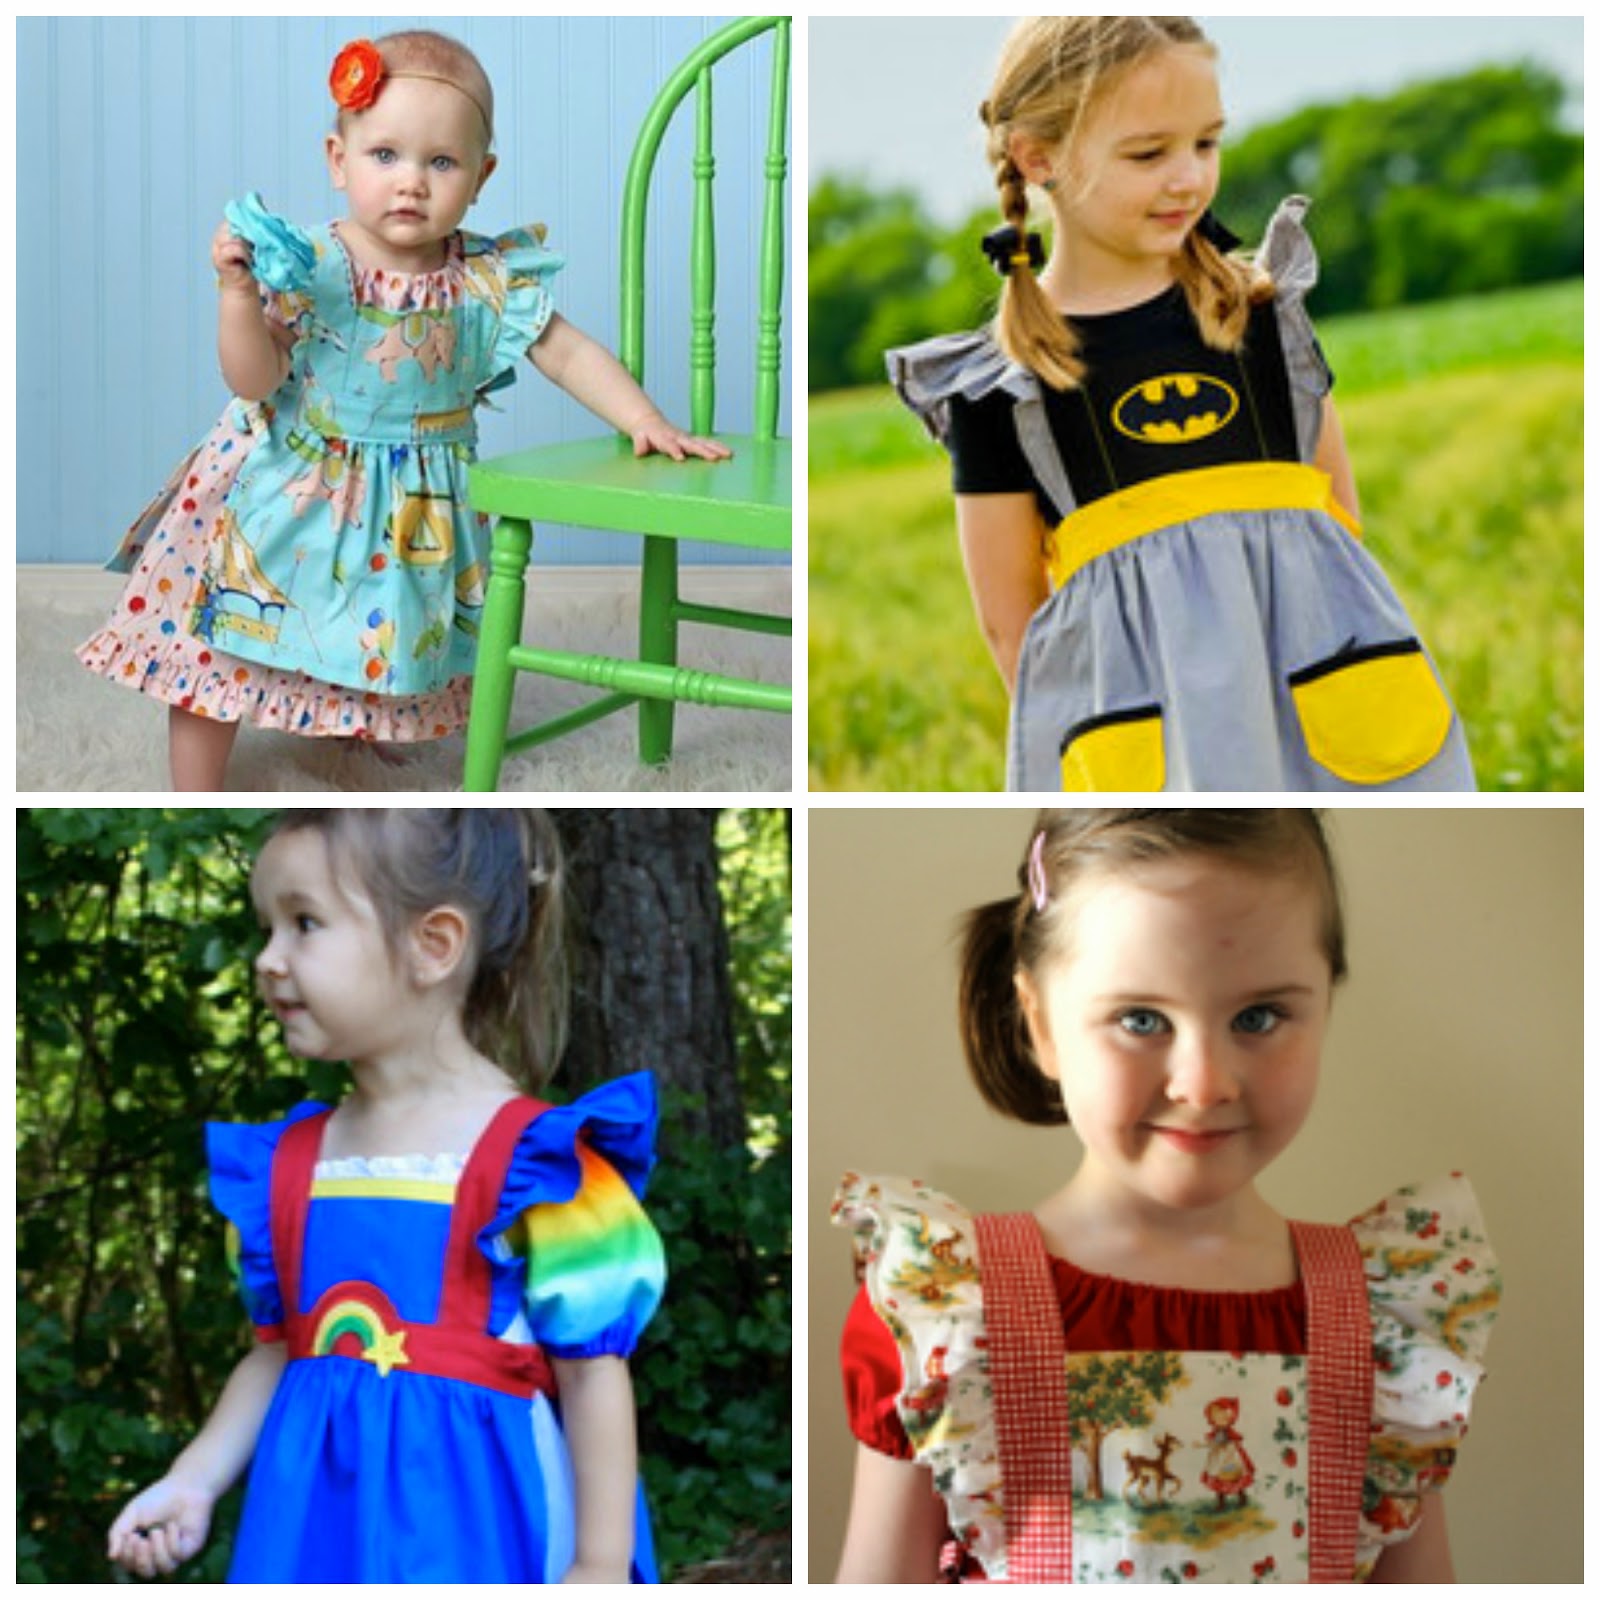
I am excited today to tell you about the sewalong I will be hosting over the next two weeks. We will be taking the Tie Dye Diva (TDD) Easy Peasant dress pattern and Storybook Pinafore Pattern and sewing them together!  It is going to be really fun. I have been planning this for a while but we timed it perfectly to happen after last week's very successful TDD Seaside Sailor Sewalong.  Now, I am not Rachel so this sewalong will be a bit different, but I will try to run mine as smoothly as she ran hers.  


************************************************


Today, I am going to start by having the pinafore patterns on sale in the Tie Dye Diva Store for $6.50.  The Peasant patterns are already at a very low price, $5.95, and you can use the code BUNDLE when you buy three or more patterns, so this is an awesome deal!!  You can buy baby or girl sizes for this sewalong.  Or all four!


************************************************


This sewalong will run for two weeks. This will give you time for both patterns, if you are sewing both. If you have already made an Easy Peasant and just want to add a Storybook Pinafore, that is great, too!  


Here is our schedule for the next two weeks:

Monday, June 16
  • Buy the pattern
  • read instructions
Tuesday, June 19
  • Learn about the Giveaway prizes and sponsors! 
  • Choose your styles, fabrics and notions, if you have not already done so.
Wednesday, June 18
  •  Put patterns together and cut them out. Begin sewing Peasant dress.
Thursday, June 19
  • Learn more about the sponsors
Friday, June 20
  • Finish up Peasant dress.
Saturday, June 21
  • Question day in the Facebook group. No blog post, but I will be online to help all weekend.
Monday, June 23
  • Begin Pinafore
Wednesday, June 25
  • Finish Pinafore
  • Start sharing!
Friday, June 27
  • Share your finished dresses! You can share on my blog's linky party and/or TDD sewing group on Facebook. Both sites will make you eligible for the prizes 
Saturday, June 28
  • Keep sharing!
Monday,  June 30
  • Giveaway day!  Two winners will be announced.

If you are not already a member of TDD's Facebook sewing group, please do join.  Daily chat will take place on this blog but also in the group.  While there, you can also look at the Easy Peasant photo album (all sizes) and the Storybook Pinafore photo album (all sizes).  These will give you great ideas for your own sewing.

And check out my versions. I made both in size 2/3 from the girls patterns. These are going to be worn by a lovely little blondie I know and I will share the modelled photos with you in a day or two.  I did some fussy cutting of this fabulous fabrics from Blend.  It is called True Blue and it was designed by Ana Davis. Blend was generous enough to give this fabric to me for use in this sewalong.
The sewing schedule for the week will be as follows:
Monday, June 9
  • Print and prepare pattern
  • Read through instructions
  • Select fabric
Sew

Tuesday, June 10
  • Decide on dress options (more coming about this!)
  • Cut out dress
  • Choose collar trim
  • Assemble collar

Wednesday, June 11
  • Sew bodice


Thursday, June 12
  • Prepare skirt
  • Complete hem details

Friday, June 13
  • Sew buttonholes and attach buttons
  • Gather skirt and attach to bodice


Saturday, June 14
  • Catch up
  • Post photos
- See more at: http://tiedyedivadesigns.blogspot.com/2014/06/seaside-sailor-sew-long-introduction.html#sthash.4lQDxhmn.dpuf


************************************************

So, today your job is to read the TDD patterns Size chart and figure out which size you want to make and go purchase the patterns. Then, download the patterns and read the instructions.  Start thinking about what fabric you want to use.  My suggestion to you is to pick two or three (at most) fabrics for both items. I like busy and colorful, but if you do not, that is perfectly fine! Do what makes you happy. Read the pattern requirements for how much fabric you will need and a light to mid-weight cotton or a cotton-blend fabric. Quilting cotton works perfectly for these items but you could also choose apparel fabric that fits those requirements.


************************************************

Note: I am an affiliate for Tie Dye Diva Sewing patterns and I do earn a small commission of the sale of any patterns if you click through to TDD shop from the link in the sidebar of this blog or the links provided above. However, I do not take any money for reviewing patterns or for this sewalong idea. I love Jen and her patterns in and of themselves and have loved them long before I was an affiliate. Blend and the other sponsors of this sewalong sent their products in for free and I did not ask for nor receive any compensation for them.