

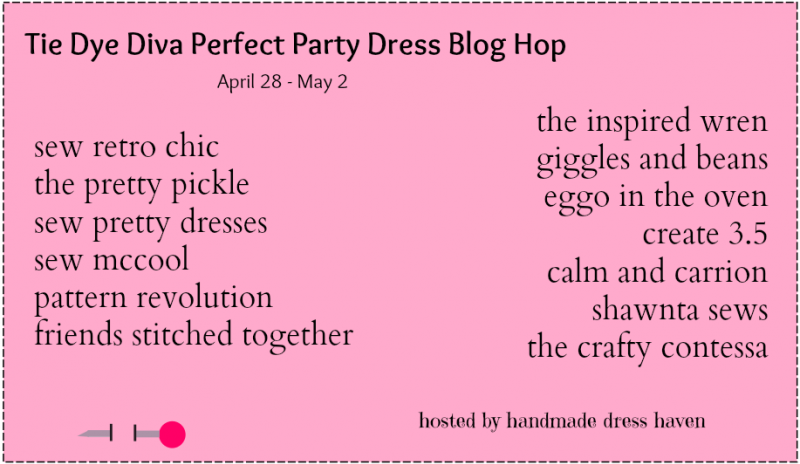
Today is day one of the Tie Dye Diva/ Handmade Dress Haven Perfect Party Dress Blog Hop! We have some great bloggers helping show off different ways to use the Perfect Party Dress pattern to make a stylish and classic little girl's dress.
First, let me tell you about this pattern. It comes it two sizes, baby sizes 0-24 months and girl sizes 2 to 10 years. The patterns are extremely well written and the sizing is very accurate to the size charts. The directions are perfect. Jen, the Tie Dye Diva, is an excellent pattern writer. And, for this week only, you can get these patterns for $6 each, instead of the usual $7.95. You will see the discount once you put the patterns in your cart. What a great deal!!
I have made numerous versions of the girl size dress and love it! You may recall my pleated-front version, which was featured on the SisBoom blog. Today, I am going to show you how to do another variation of the bodice piece, this time with pintucks! I will also show you how to made a ruched sash instead of a flat one. I showed this to you a few weeks ago, for Project Run and Play, but today I will actually tell you you can also get this great look.
Here is the finished dress
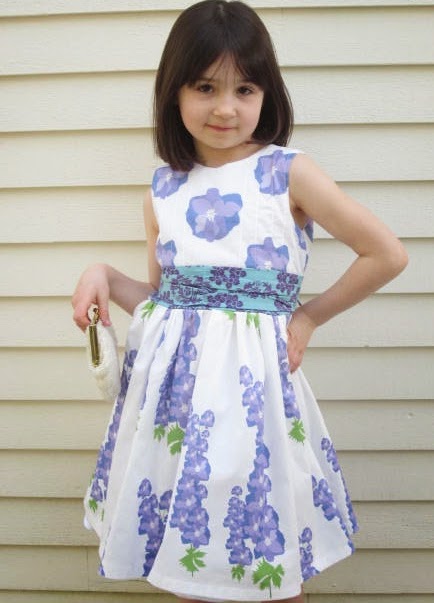
And here is a closeup of the bodice and sash.

Step 1 - Pin Tucks
1. Cut out your bodice front pattern piece and then cut a piece of fabric out that is several inches larger on both sides. This takes eye-balling but for my size 6X bodice I cut it 2 inches wider. Better to be too wide than too narrow. I also cut the fabric about an inch higher on top and bottom.

2. Next, in that extra inch on top and bottom, mark (with washable marker) dots every one inch. I used my rule to make sure my dots line up on top and bottom. Pin tucks are basically tiny pleats so you need them to line up perfectly.

3. For step three, use your fingers to squeeze the fabric together, making a small fold from one dot to the next (vertically).

4. Place a pin horizontally to the tiny pleat to make a tuck. Do this up and down your pleat. This is why they are called "pin tucks." You tuck fabric and pin it! Do one pleat/tuck at a time.

5. One pleat/tuck at a time, use your top stitch foot or stitch in the ditch foot to sew a seam very close to the fold. If you do not have a special foot, just sew very close to the edge.

6. Repeat steps 3-5 for every inch.

7. You can pleat/tuck all the way across or, as I did, you can stop in the middle to show off the pretty flower. Either way, when you are done, lay it all out and see how it looks. You now have pin tucks.

8. With your iron, use heat to angle the tucks towards the side seams. Iron from middle to side. This just makes them lay nicely.

9. Use your bodice front pattern piece to cut out your bodice front! Isn't it pretty!
Hint: If you want the entire bodice to have pin tucks, you might think about doing your first tuck in the exact middle and working out from there! Wouldn't that be sweet.

Step 2 Ruched Sash
1. Make a new pattern piece that is double the height of the one that comes with the pattern.

2. Iron it such that you can see a line down the middle.

3. Sew gathering stitches at either side of sash and in the middle (over the line you ironed). Use the gathering stitches to gather the sides and middle of the sash so they match the original sash pattern height.

4. Don't worry if it makes the shape of a ladies swim top. It will look fine later!!

5. Take it to the ironing table, use your hands to gather the rest, and iron it flat. This will help it keep it's shape as we sew it to the bodice.

6. Sew it to the bodice as Jen instructs in her Perfect Party Dress Pattern.

7. Sew the rest of the bodice parts together as Jen instructs in the Perfect Party Dress Pattern. Stop when you get to adding the sash ties. To add the sash ties, you will eye ball the sash side gathering and sew as much of it as you can into the sash ties. This will hold the gathers in place. Be sure to leave a bit at bottom so that the sash front lines up with
bottom of lining. The three photos below show you how I did this step.
This might seem complicated. Contact me if you have
any questions!


8. Follow Jen's directions to complete the Perfect Party Dress pattern!

Voila!


Please visit Amy and Michelle's blogs for their versions of the Perfect Party Dress!
And visit the rest of the hoppers all this week!
April 29 Tasha, Ren and Alyssa
April 30 Sara Beth, Shelly, and Shawnta
May 1 Jenny, Meriel, Victoria, Nichole
May 2 Deanna, Zura, Kim

That's so pretty with the pintucks, Kathy! Thanks for hosting this :)
ReplyDeleteThank you Amy
DeleteKathy, I love the pintucks and ruched sash. I think this would look very good using silk too (like tafetta), a perfect formal look.
ReplyDeleteYes Zura! That would be beautiful in tafetta!
DeleteI love pleating! And you made the technique super easy. :) Thanks for sharing, Kathy!
ReplyDeleteThank you Deanna
DeleteThis is so adorable! <3
ReplyDeleteThank you Mary Grace
DeleteThe pin tucks look so elegant, I love it.
ReplyDeleteThank you Alyssa
DeleteFinally I get to see the magic! :) Pintucks are always a design favorite of mine and coupled with that beautiful fabric you designed this dress is awesome!!
ReplyDeleteThank you Shawnta!
DeleteIt's a great tutorial, Kathy! I've seen all the other versions but your is one of the most inspiring to me! I often forgot how much I love pintucks...
ReplyDeleteThanks for reminding it to me :)
Irene
SergerPepper.com
Thank you Irene.
DeleteThank for coming back Amy
ReplyDeleteIt's great to see so many different messages. Thank you for sharing.http://58eveningdress.com/
ReplyDelete