Tuesday, September 10, 2013

Tie Dye Diva Long Sleeve Top


 Jen at Tie Dye Diva has done it again! Another great pattern!  


 I love her patterns and feel very fortunate to be her friend and be part of her process, albeit simply as a pattern tester.  This adorable top top pattern for girls can be made with a Peter Pan collar, squared-off 'split collar', no-collar square neckline or no-collar round neckline. It has so many style!  And, there is no buttonhole needed. It has a button-and-loop back closure.  The yoke is lined. So well designed!! As usual. 

I chose to test this pattern out in Robert Kaufman fine wale Cool Cords. I have a thing for this fabric group and have amassed a small collection!  First up, the Peter Pan collar. This was a great pattern to test and I had a lot of fun with it.  As usual with TDD patterns, it was well written, with clear instructions and great pattern pieces. 


 The back has two loops for button closures. My daughter chose these teacup buttons.

  
The collar lies perfectly!  I like the spacing between the back pieces, as you can see below.  It looks very clean and neat. The way the pattern is written, the back yoke lies perfect! Doesn't it look nice!!


I also made it in a square neck style, again in Cool Cords. I made this one a tad large so it will be something my daughter can wear longer.  This one has a matching skirt made from an Ottobre pattern, from issue 6/2009.


Great Pattern Jen!!!


PS:  Don't forget the fabric giveaway!!


Monday, September 9, 2013

Fabric Giveaway!

After a great summer off from blogging, I am back and want to connect with more of you. So, I am having a small giveway to entice more of you to follow me. I hope you like it!


I will choose two winners, one for each item. 

Please note the Facebook page must reach 300 likes for item #2 to be part of the giveaway!

First item to be given away is a two yard set of Art Gallery Modernology fabrics.  This is four one half yard cuts of each of these lovely fabrics. Two yards in all!


Second item is the very hard to find Michael Miller Lava Blooms fabric in SAGE green. This is not apple green.  This is Sage green. See the pink flowers. Apple green has dark pink flowers.  This is enough to make a bodice for a small girl or maybe sleeves for several dresses. Almost impossible to find!! 

This item will not be included in the giveaway unless I reach 300 fans on my Facebook page, so please refer friends! The refer-a-friend option is only available for paying Rafflecopter customers, of which I am not, so I have to ask you pretty please to do this on your own!  Thanks a million!! Maybe some day I will generate enough buzz to warrant paying for more Rafflecopter choices!!


a Rafflecopter giveaway


Isn't this fun!  This giveaway Tuesday September 17th and I will share the winners on Wednesday the 18th.  Have fun and please refer some friends!! 


Jocole Crossover tunic tops for my tween


 One of my favorite patterns to sew for my tweenage daughter is Jocole's Crossover Tunic.  It can be a top, tunic or dress and the pattern comes in 12 month size thru size 14, including an 18" doll version! You can also buy it in the woman's size, if you need it larger.  It is a versatile, well-written pattern.  If you are afraid of sewing with cotton knit fabric, this pattern is one to try because it is not too hard at all.  The binding around the neckline took me a few tries to master but that isn't bad.  The three tops, shown below, are my 4th-6th attempts at this pattern and I think I am getting pretty good at it! 


The above two tops are made from fabric I got from Banberry Place Fabrics. Corie runs an excellent store and has the best selection if cotton knit fabrics as well as wovens and notions and patterns. She will also sell you fabric samples, five for $2.50, which helped us pick out those two fabrics, among others. It really helped my daughter to be able to see the fabric in person and feel it.


The fabric for this tunic, as modelled by it's new owner, is a lovely Valori Wells print for Free Spirit fabrics that I got from One Red Blossom Fabrics.  We are really enjoying this line of knits that Valori designs.  They are soft and very pretty and easy to sew with.  I made several tunics from last year's line and they were much loved.


Want to know more about Jodi, the designer from Jocole? Check out my interview with her. She's a great lady, very talented.

Also, check out the tutorial I wrote to make headbands from the leftover knit fabric.

Finally, please visit my Pinterest page for some awesome linked tutorials on how to sew with knit fabric. Don't be afraid to try! 


Tuesday, September 3, 2013

Cotton/lycra Knit headband tutorial


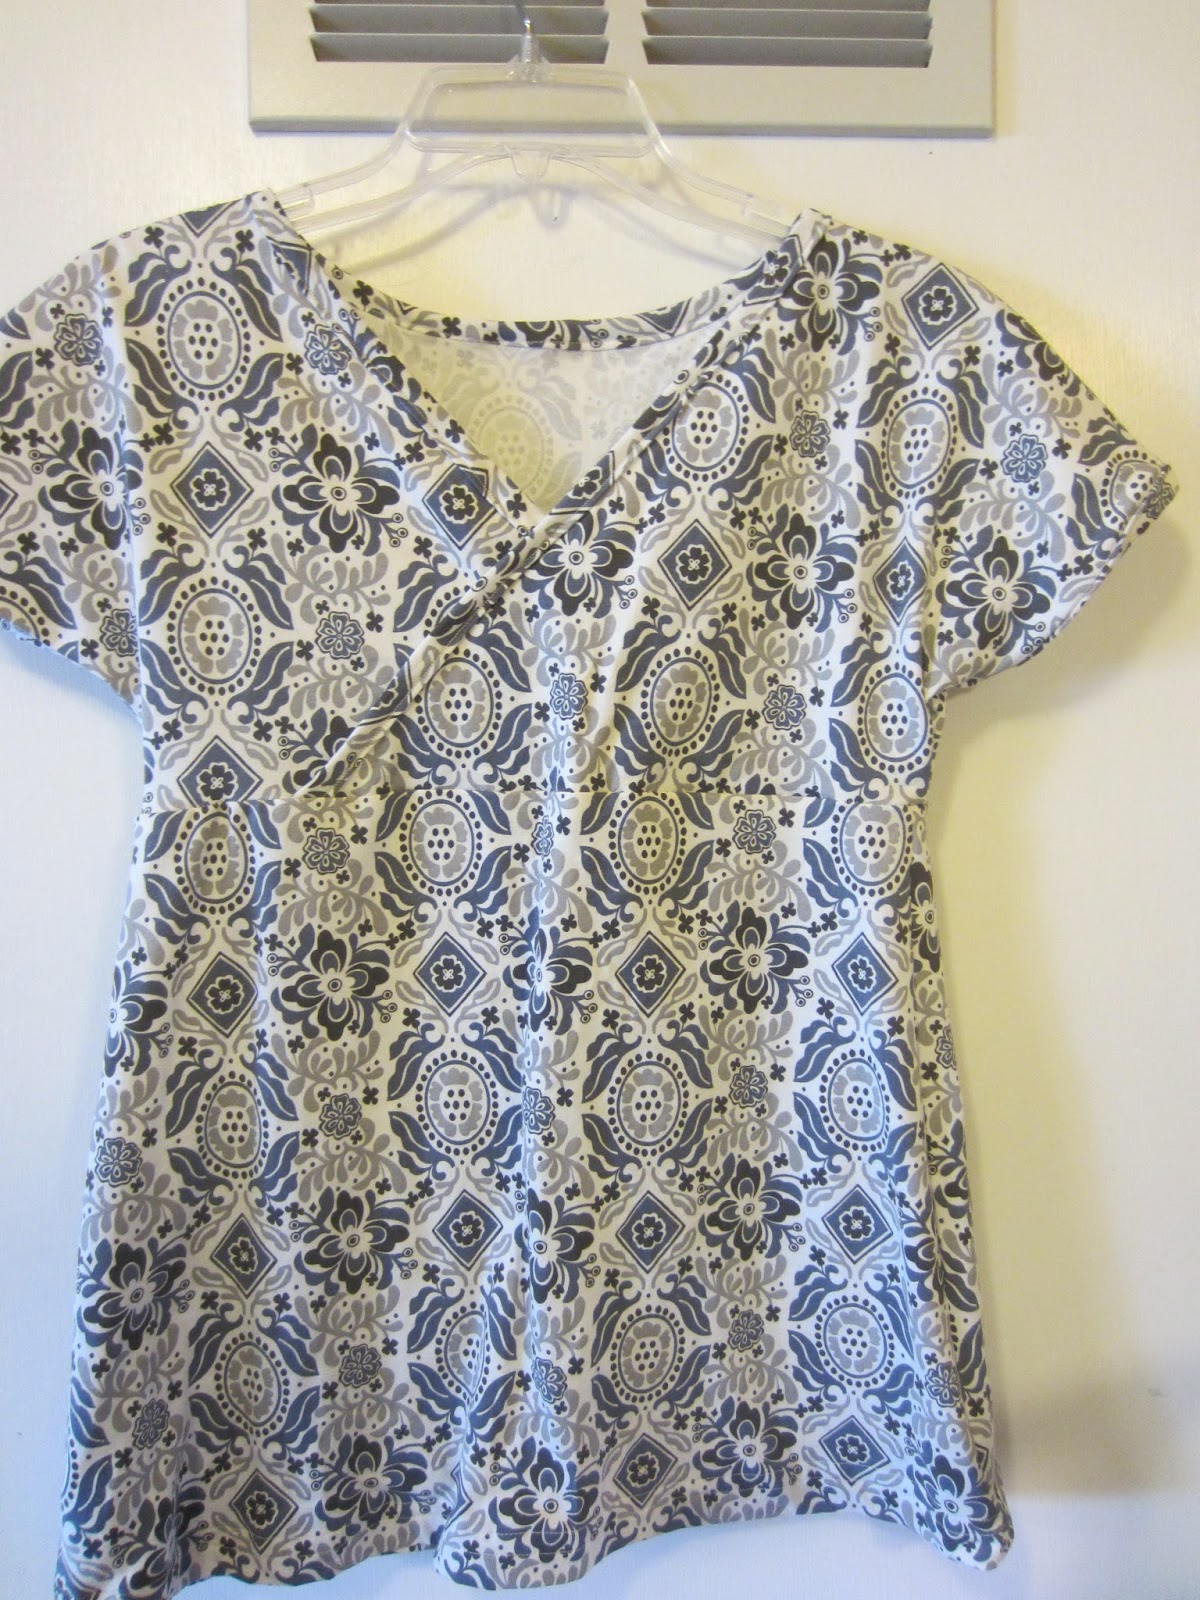
Around these parts, my girls love to wear soft headbands. They both have long hair and the soft headbands are a much more comfortable solution to hair control than the hard plastic or metal ones.  We can buy a Scunci brand pack of them at the mall for a few  bucks but it is much more fun to have them match one's clothing! Since I made some cotton knit tops for my oldest daughter to wear to school, I decided to make some headbands to match.  I was very surprised to find not one tutorial on how to do this simple project, so I made one.  Tomorrow, I will share the tops these cuties match.  For now, enjoy the tutorial. This is a great way to use your knit scraps.


 The finished project will look like this one, above. You are going to want to use cotton knit fabric with stretch to it. My fabrics are all part lycra and have good stretch and release. It is hard for me to tell you exactly what fabrics to buy but if they have some lycra and they stretch out and back and still look nice, you will be fine.  

You will also need a ball point sewing machine needle for this project.


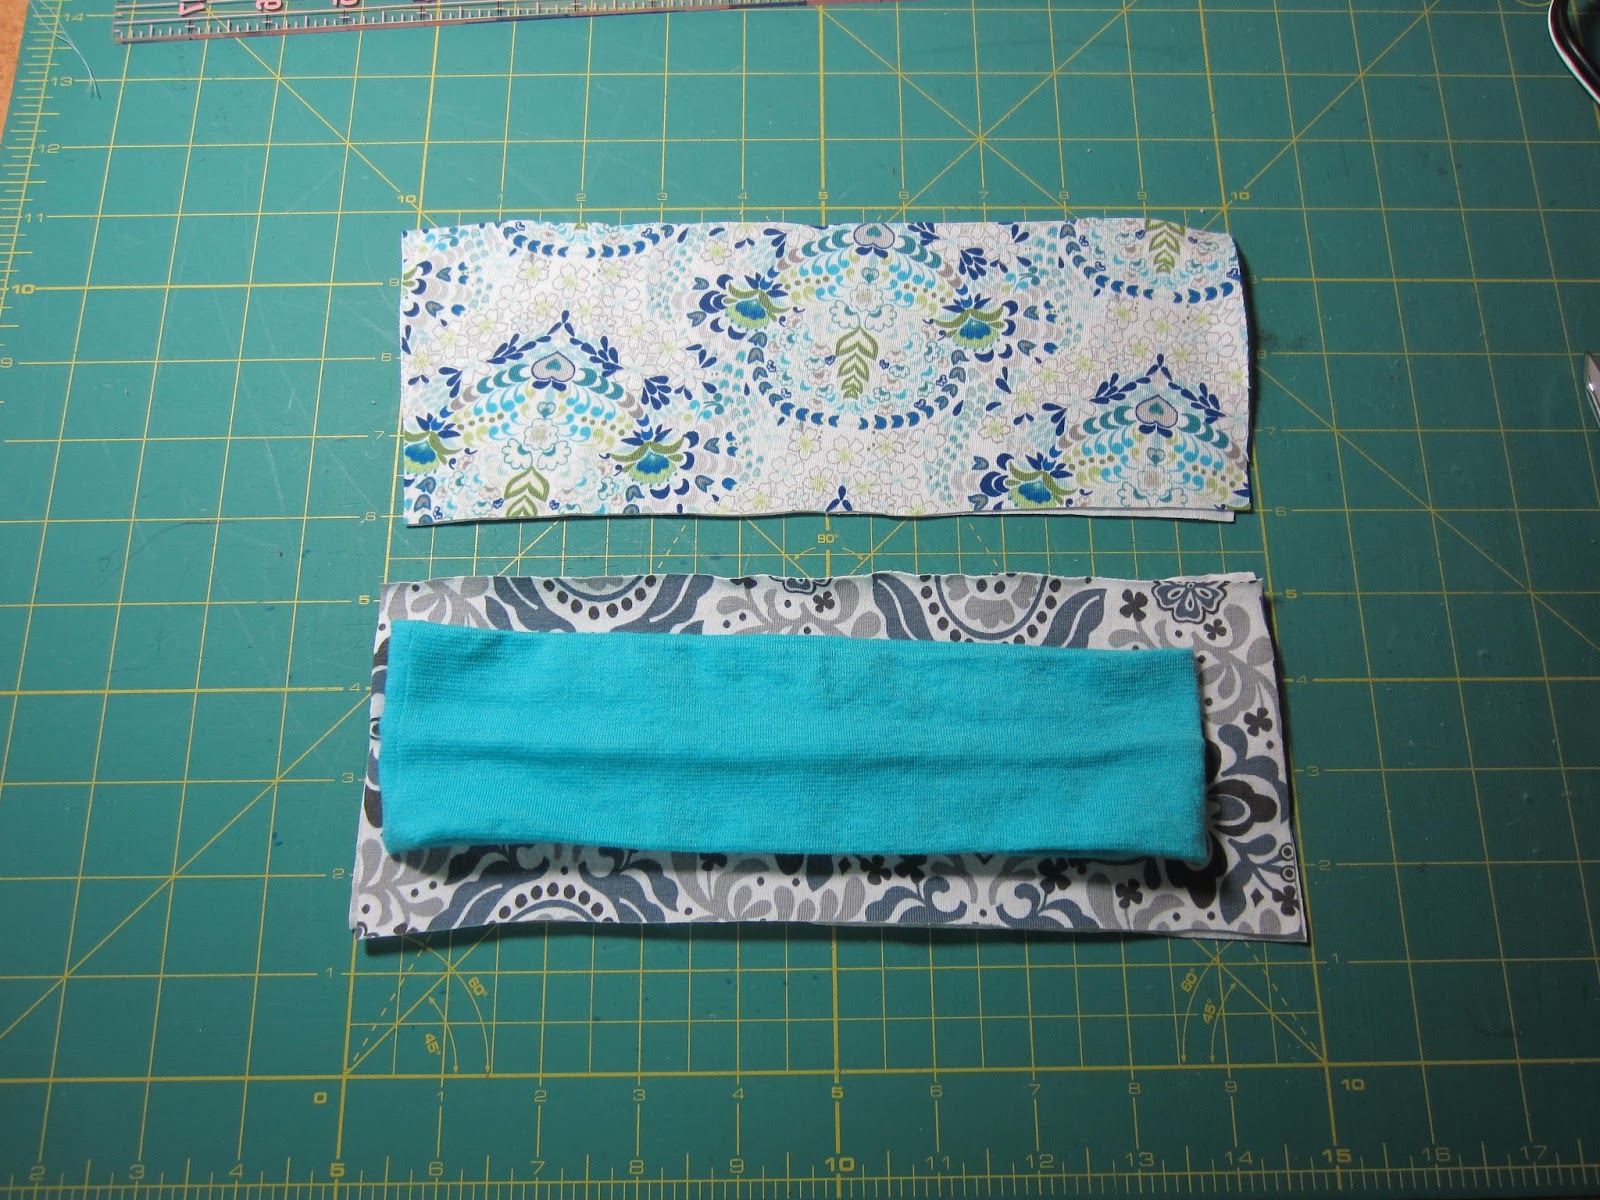
 1.  Our store-bought headbands are 9 inches long by 2.5 inches. We will be making 9 by 1.5 inch headbands. You can make yours any width you want. If you have a very young child, you might want to shorter the length.

 2. Cut out two rectangles per headband. 
Each rectangle should be 10 inches by 4 inches.  I like to wing it on the seam allowance for things like this but if you like exact, then use a 1/2 inch seam allowance.

 3. Right sides together, sew one end together on each headband.  


 Note: use stretch stitch or tight zig zag. 
I am pointing to stretch stitch on my machine. 
It looks like a lightning bolt. This stitch will give
your knit fabric some stretch but still have a tight seam.  
A straight stitch might pop when your child uses her headband.

 4. Fold in half length-wise and sew the length, right sides still together.  
You should now have one long tube. 

 5. What do you use to turn tubes right side out? I use my Dritz Tube Turner! 
(I wish that was a sponsored comment, but it is not! I just love this doohickey!)

 Here's how it works. 
You stick the tube in, use dowel to push a bit of fabric inside and then 

 you stand it up and pull fabric down. 

 Voila! Right side out tube!

6. You now have a 19 inch tube. 


7.  Take one side of your tube and fold fabric in 1/2 inch. 
See both pics above for how that looks. 

 
 8.  Stick the other end 1/2 inch inside the tube. 
You now have one side folded in 1/2 inch and the other side laying in the tube 1/2 inch. 

 9.  Sew a 1/2 inch square to contain this end.  
Your headband is done!  


 10. Yay! You now have some nice headbands to match your handsewn clothing!

Tomorrow, I will share some of the clothing I made with the above fabrics and I will also let you know about the giveaway I am doing! I will be giving away some hard to find fabric!   I've also been pattern testing and cannot wait to share about that!